How to DIY Retro Fridge in an RV or a Camper
This post may contain affiliate links to support the upkeep of this blog - at no extra cost to you! Please read my disclaimer for more info.
I really wanted a nice mix of new and retro in our 1987 van, and a retro fridge has been on my wish list for a long time. So what’s better than be a bit playful when decorating an old RV? Read how I turned my boring RV fridge into a real retro piece!
Want to see more RV fridge inspiration? See 6 ways of updating your RV fridge!
Retro Fridge Characteristics
So what makes the fridge look like retro when it really isn’t? Let’s have a look at a few examples:
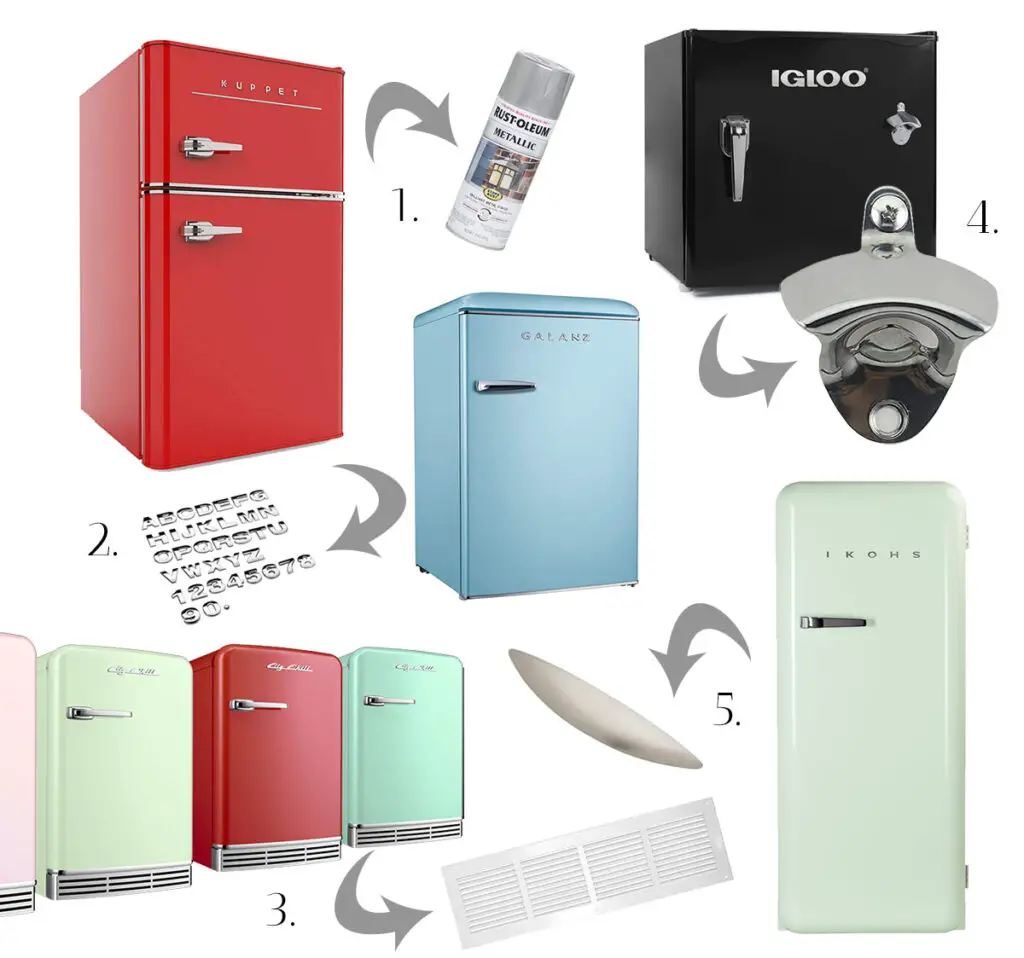
- Retro fridges have a lot of chrome details. Get some chrome or silver paint to paint the edges and handles.
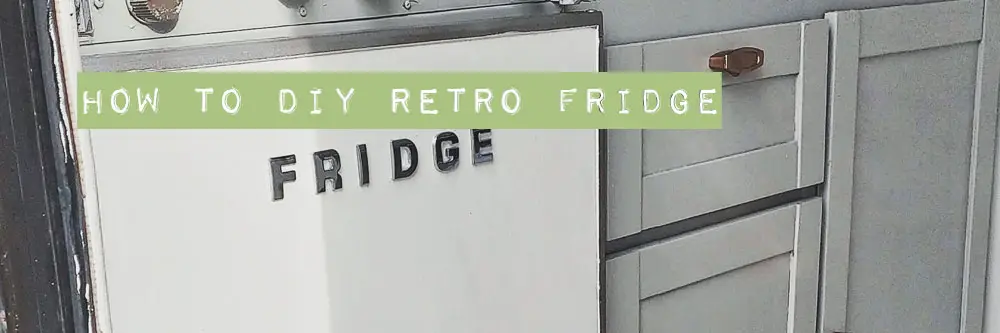
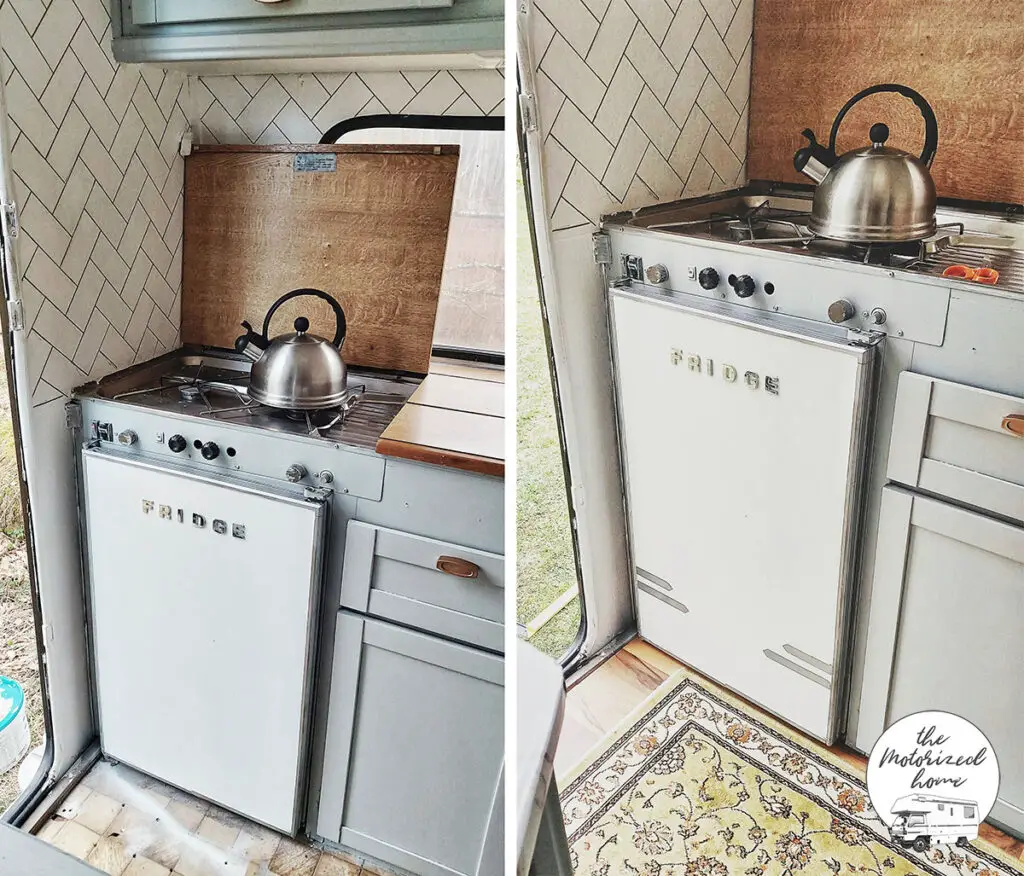
- They have their names visible. Invent your own brand, use your own name, use something that relates to refrigerating… only the imagination is the limit! I went for F R I D G E. See how imaginative I am 😉 I used these silver car letters.
- Use an old air vent or air grille to create a faux retro air vent or buy some magnetic strip to create retro lines on the bottom of the fridge.
- This fridge comes with a handy bottle opener. Get yours here.
- Add an extra handle with some super glue. Also note the lovely retro mint color!
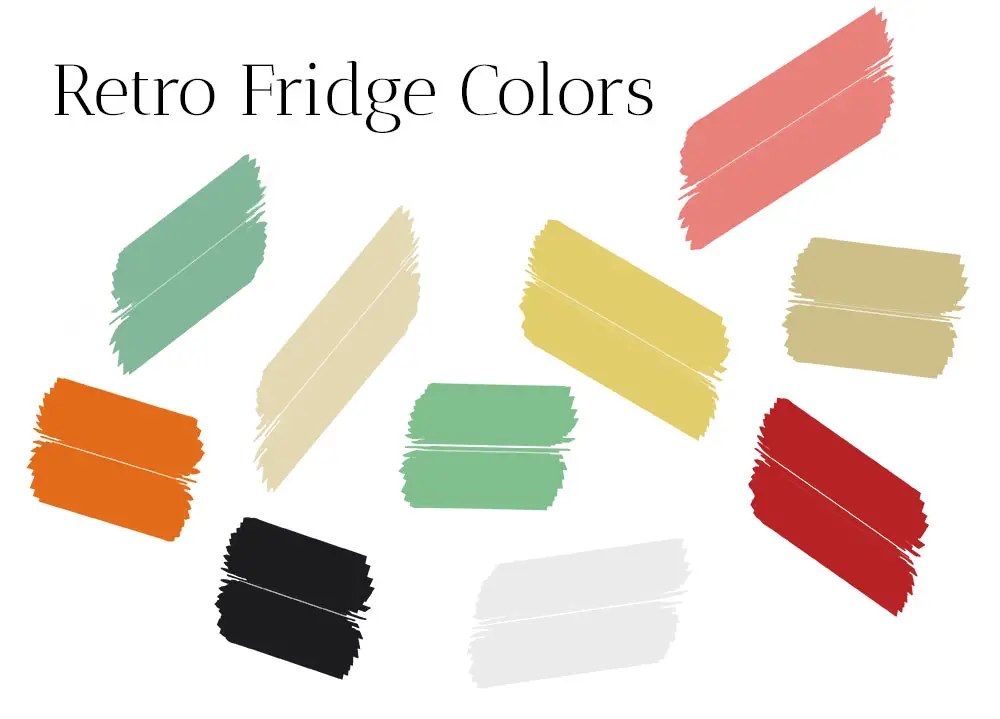
And when it comes to colors, here is some inspiration:
How I made my DIY retro fridge in our RV
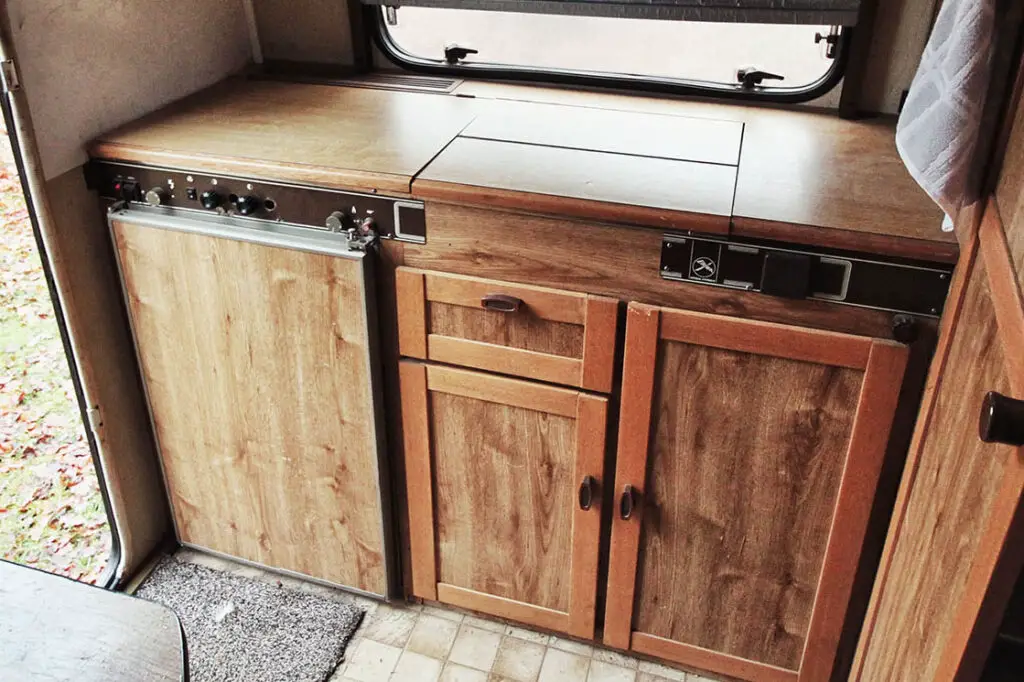
So this is what we started with…
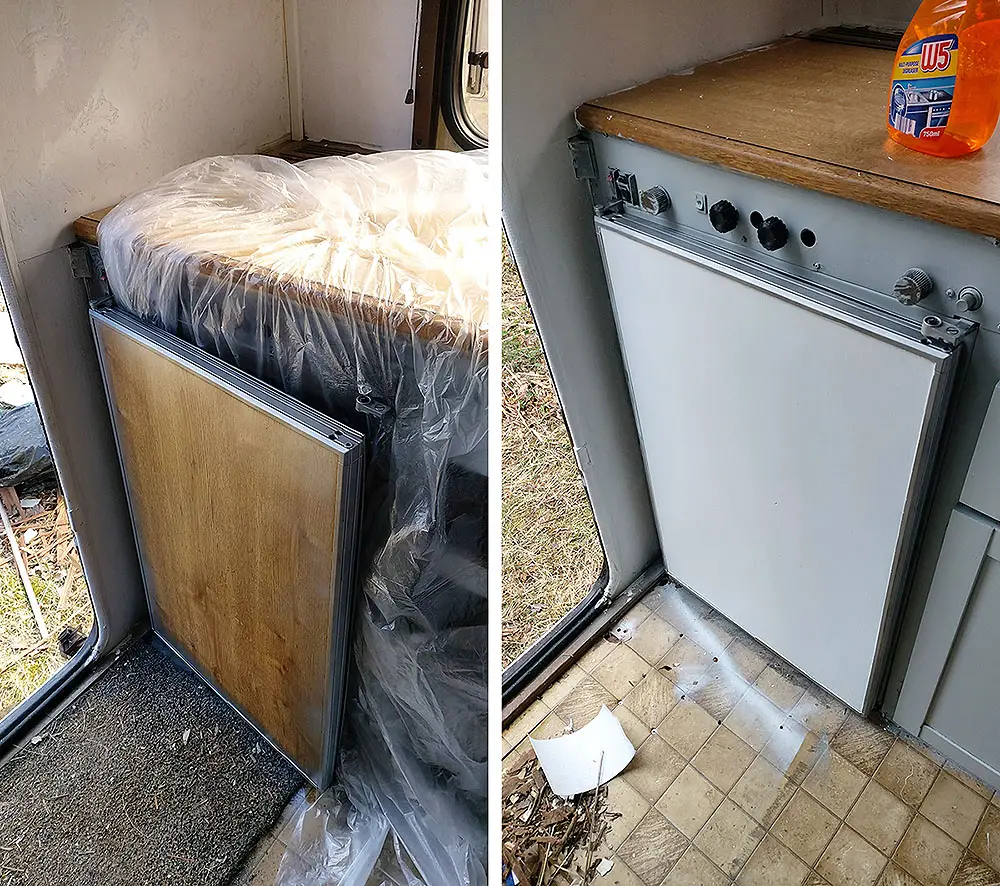
- First I gave the surface a good wash to get rid of any dirt and grime! After that I sanded it well. Don’t forget the sides.
- Next I protected the rest of the kitchen with a protective film. I sprayed the edges with a silver spray paint.
- After the edges had properly dried, I taped them with a painters tape and gave the front surface a paint coat with my white chalk paint. I’ll see how it will hold, but if you want to be on a safe side, use a primer or 2-in-1 paint that is suitable for the surface. With spray paint you’ll get a nice, even result.
- Next I sprayed some lacquer on top. The shinier the better really, especially if the authentic retro look is important to you.
- Then I installed the letters – mine came with double sided tape. 90 degree ruler was handy to get the letters straight.
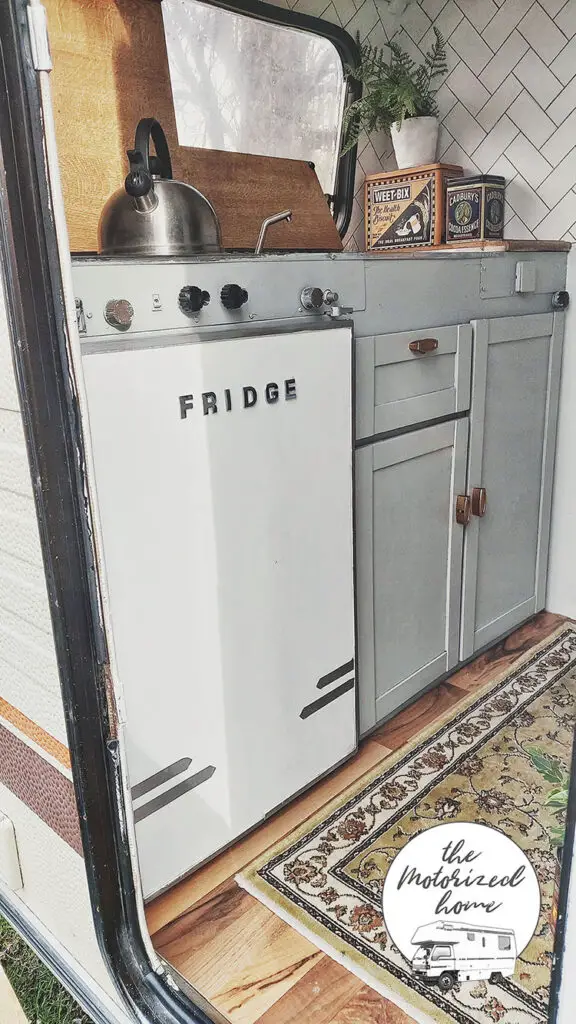
- I added some silver tape on the bottom as a decor, but I will look into getting magnetic strip later.
I decided to leave my fridge like this, as originally I was planning to install an extra handle too, but as our fridge is by a narrow doorway I left it out for practical reasons.
Please let me know in the comments if you have done anything similar!
Pin me for later!
You May Also Like

All You Need To Know About Having House Plants In Your RV or a Van – 11 Best Hard to Kill Plants for Your Rolling Home

Super Easy and Fun Camping Crafts for Kids