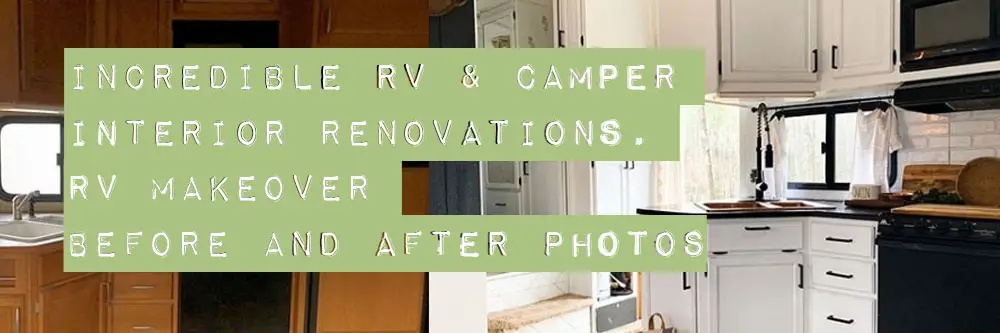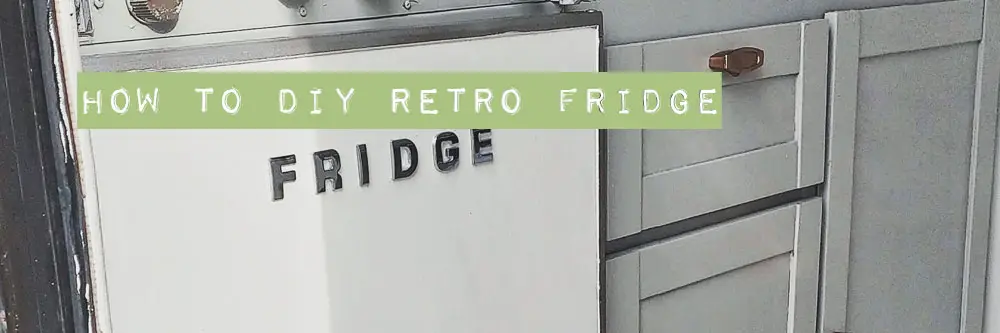
How to DIY Retro Fridge in an RV or a Camper
This post may contain affiliate links to support the upkeep of this blog - at no extra cost to you! Please read my disclaimer for more info.
I really wanted a nice mix of new and retro in our 1987 van, and a retro fridge has been on my wish list for a long time. So what’s better than be a bit playful when decorating an old RV? Read how I turned my boring RV fridge into a real retro piece!
Want to see more RV fridge inspiration? See 6 ways of updating your RV fridge!
Retro Fridge Characteristics
So what makes the fridge look like retro when it really isn’t? Let’s have a look at a few examples:
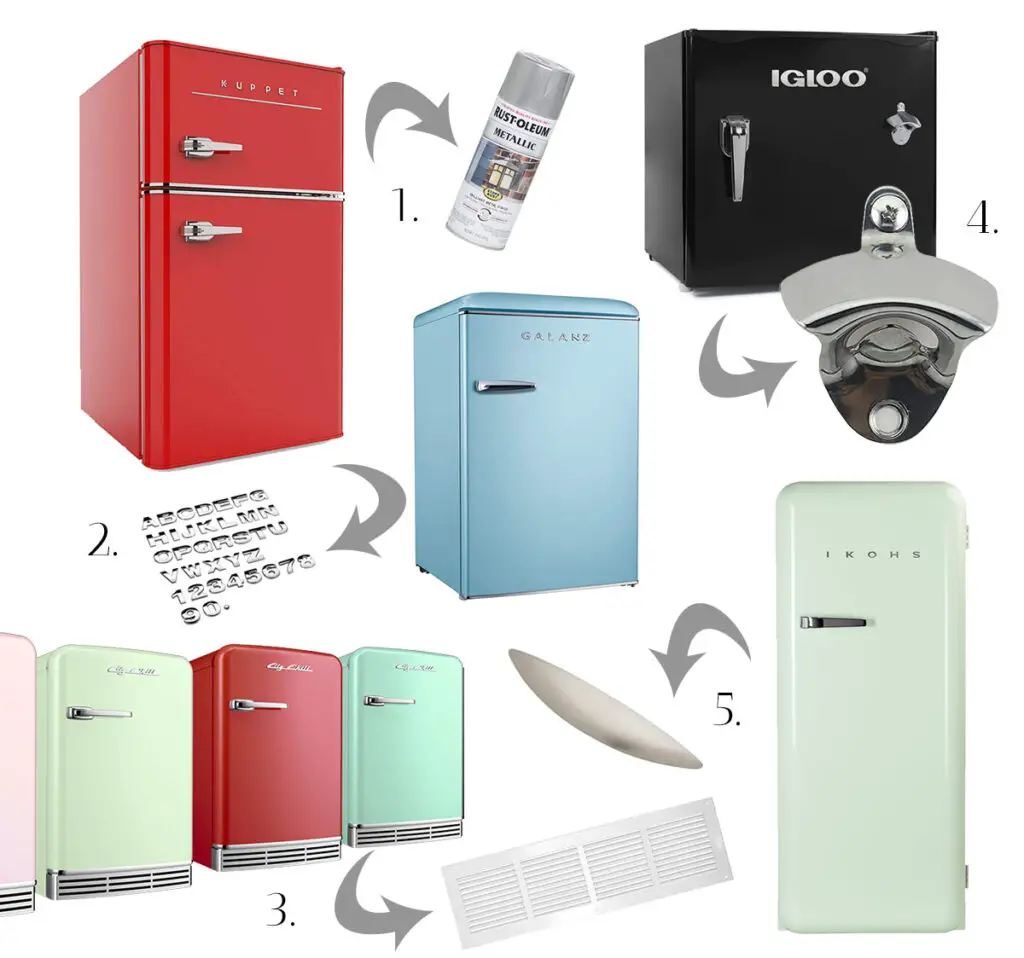
- Retro fridges have a lot of chrome details. Get some chrome or silver paint to paint the edges and handles.
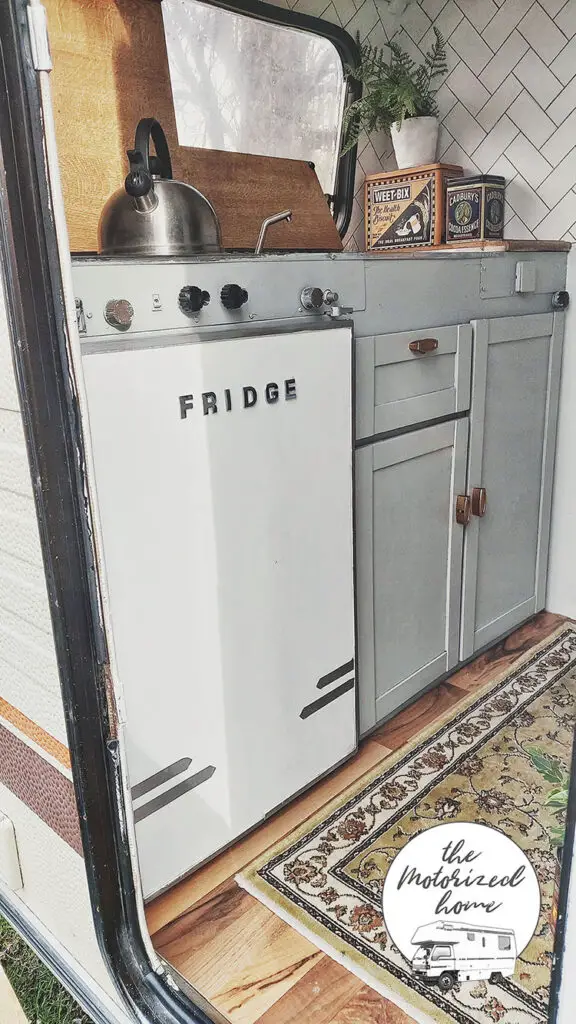
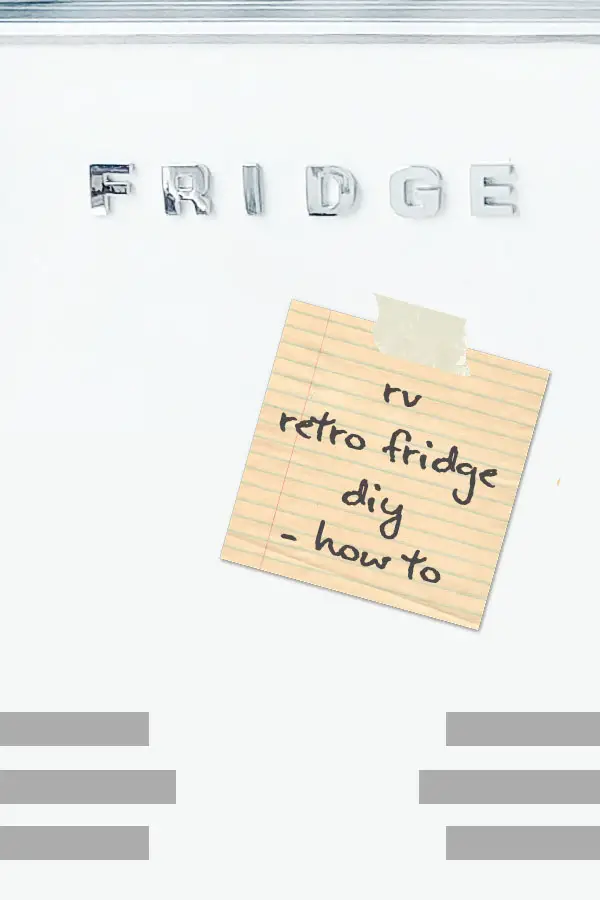
- They have their names visible. Invent your own brand, use your own name, use something that relates to refrigerating… only the imagination is the limit! I went for F R I D G E. See how imaginative I am 😉 I used these silver car letters.
- Use an old air vent or air grille to create a faux retro air vent or buy some magnetic strip to create retro lines on the bottom of the fridge.
- This fridge comes with a handy bottle opener. Get yours here.
- Add an extra handle with some super glue. Also note the lovely retro mint color!
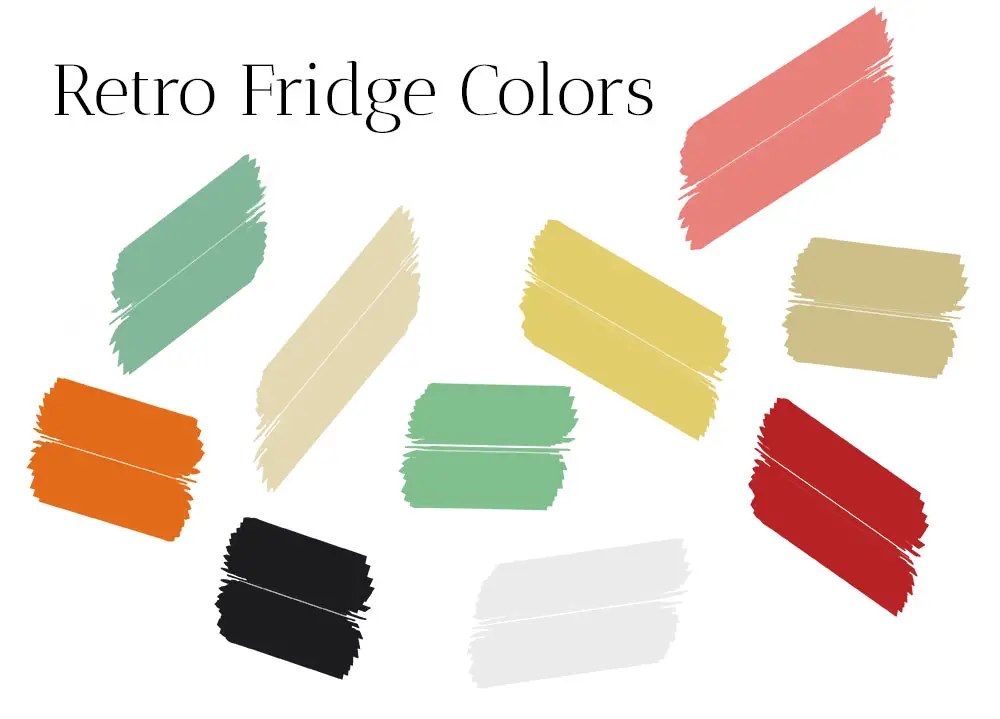
And when it comes to colors, here is some inspiration:
How I made my DIY retro fridge in our RV
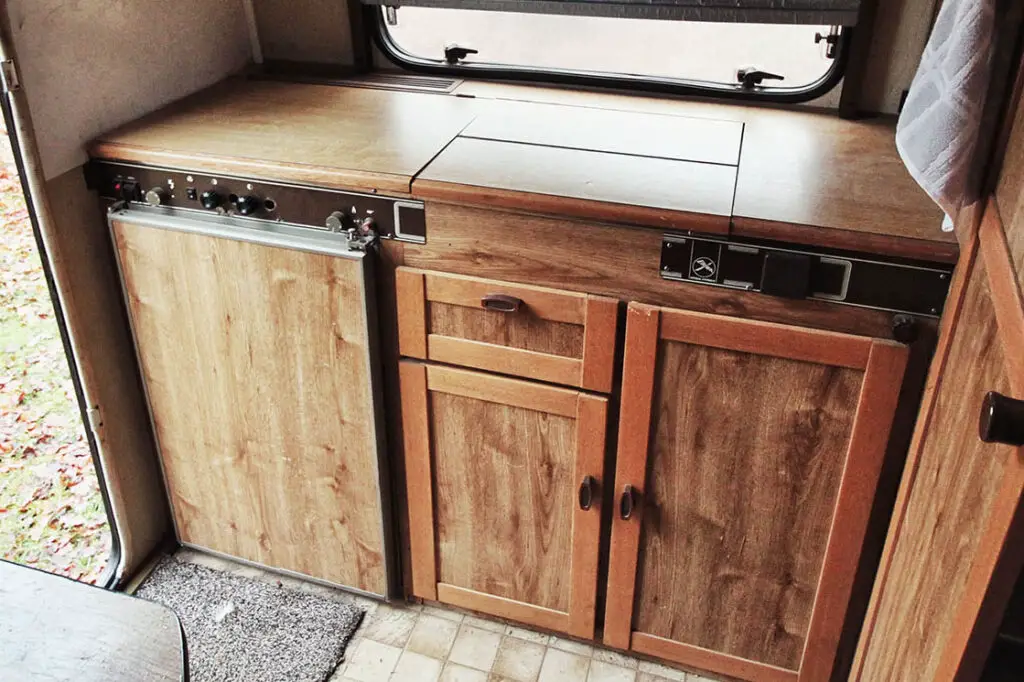
So this is what we started with…
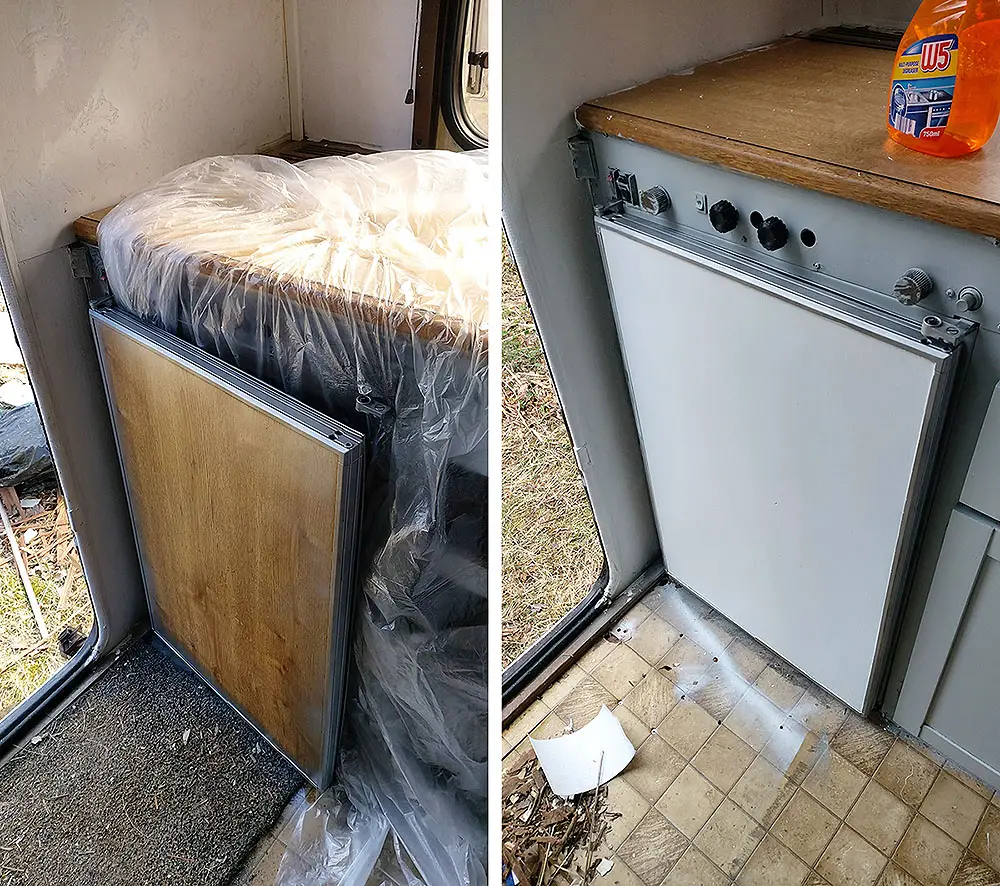
- First I gave the surface a good wash to get rid of any dirt and grime! After that I sanded it well. Don’t forget the sides.
- Next I protected the rest of the kitchen with a protective film. I sprayed the edges with a silver spray paint.
- After the edges had properly dried, I taped them with a painters tape and gave the front surface a paint coat with my white chalk paint. I’ll see how it will hold, but if you want to be on a safe side, use a primer or 2-in-1 paint that is suitable for the surface. With spray paint you’ll get a nice, even result.
- Next I sprayed some lacquer on top. The shinier the better really, especially if the authentic retro look is important to you.
- Then I installed the letters – mine came with double sided tape. 90 degree ruler was handy to get the letters straight.
- I added some silver tape on the bottom as a decor, but I will look into getting magnetic strip later.
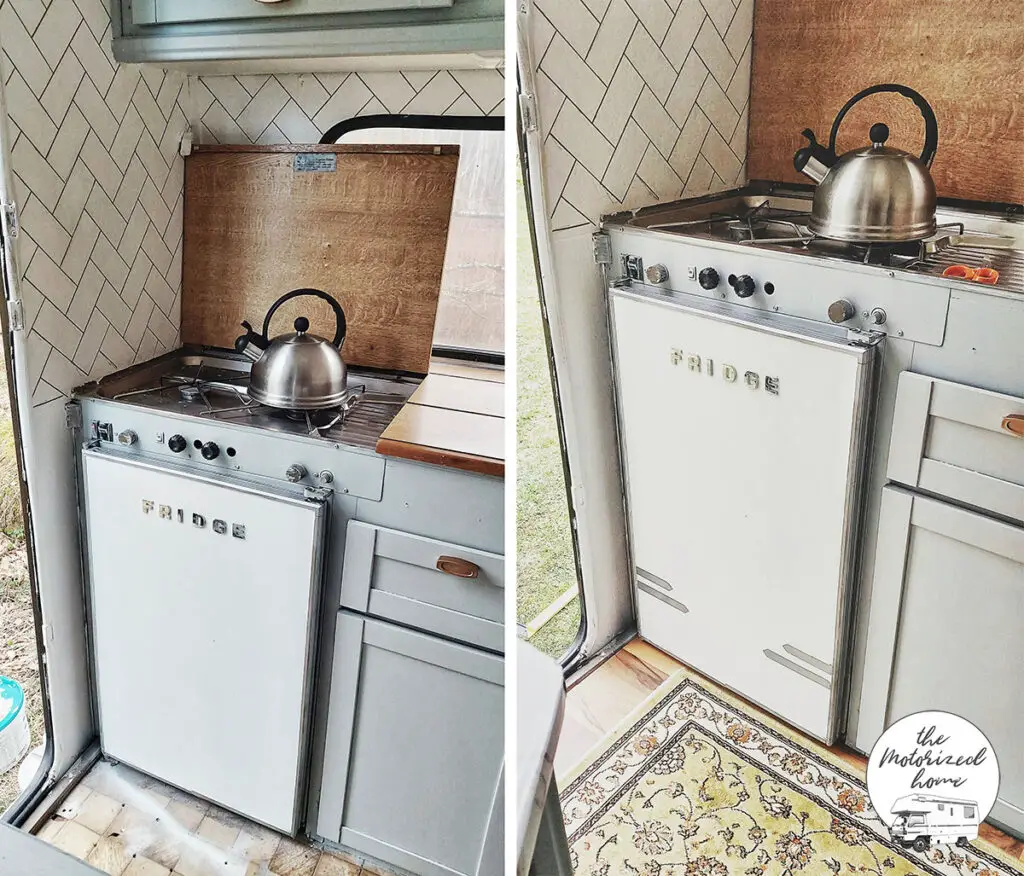
I decided to leave my fridge like this, as originally I was planning to install an extra handle too, but as our fridge is by a narrow doorway I left it out for practical reasons.
Please let me know in the comments if you have done anything similar!
Pin me for later!
You May Also Like

80 Jaw-Dropping RV Bathroom Renovations

12 Best RV Organization Ideas From Our Tiny RV (In Which We Live Full-Time!)