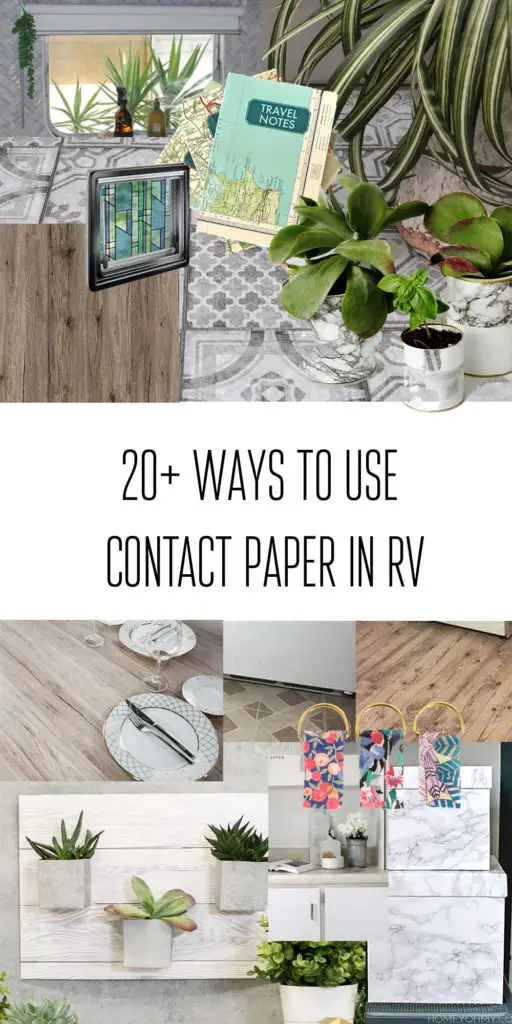
21 Ways to Use Self-Adhesive Contact Paper in Your RV Decor
This post may contain affiliate links to support the upkeep of this blog - at no extra cost to you! Please read my disclaimer for more info.
Is your RV decor in need of a makeover? Self-adhesive vinyl, also know as sticky back plastic or contact paper, is easy, fun and cheap way of updating your RV without doing any permanent changes. Check out some great ideas below for your new fresh look.
You might also be interested in
► Our $140 Budget RV Reno – Before & After
► 6 Fantastic Ways to Refresh an RV Fridge
► Easy RV Makeover Ideas on a Budget
1. Update your kitchen cabinets
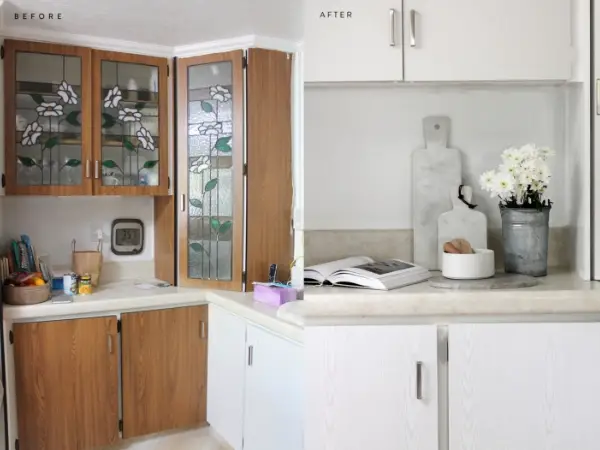
How amazing does this look?! Wouldn’t believe it is the same kitchen. Olivia’s kitchen was 70’s faux wood kitchen, which is not an easy one to paint. Unfortunately the same goes for most RVs, so this is one of the handiest ways to give the kitchen a fresh start. See her tutorial here.
Find similar white wood grain contact paper on Amazon.
2. Update your kitchen countertop
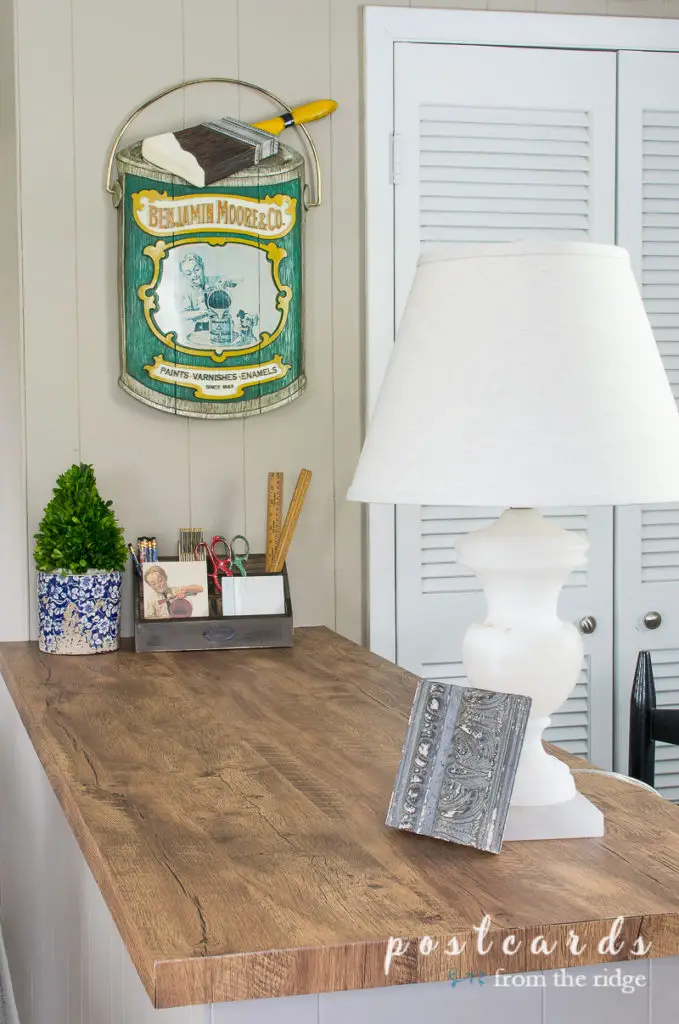
As well as the kitchen cabinets, update your countertops. This beautiful countertop is from a tutorial you can find here.
+ your dining table
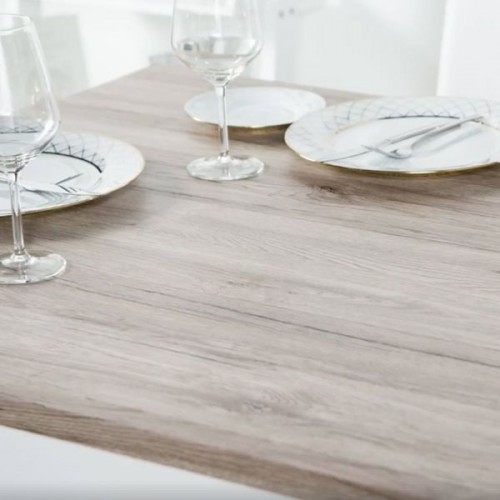
Looks nice and fresh. This adhesive vinyl is D-C-Fix Sanremo Oak, find it on Amazon.
3. Update your kitchen backsplash with adhesive tiles
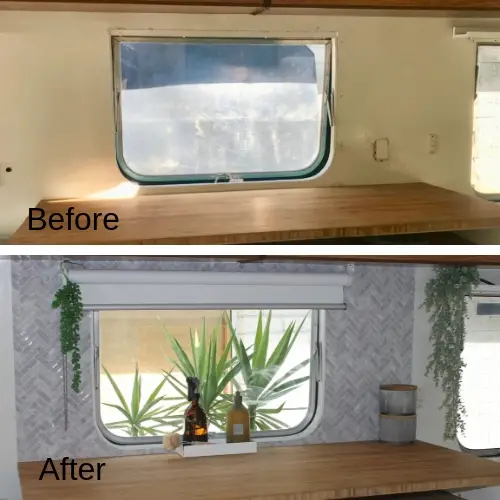
Due to the nature of the caravan and RV, traditional tiles don’t really work in a moving home. Here in VinylHome they refreshed an old caravan with peel and stick tiles. What a difference! The tutorial can be found here.
More peel and stick ideas from Amazon
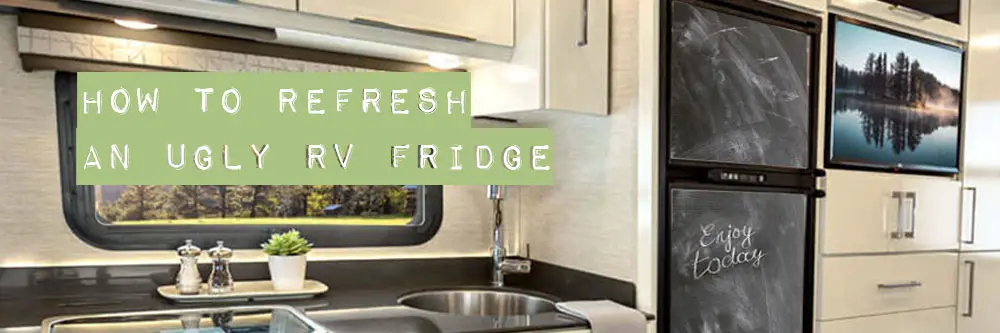
4. Update your fridge and other kitchen gadgets
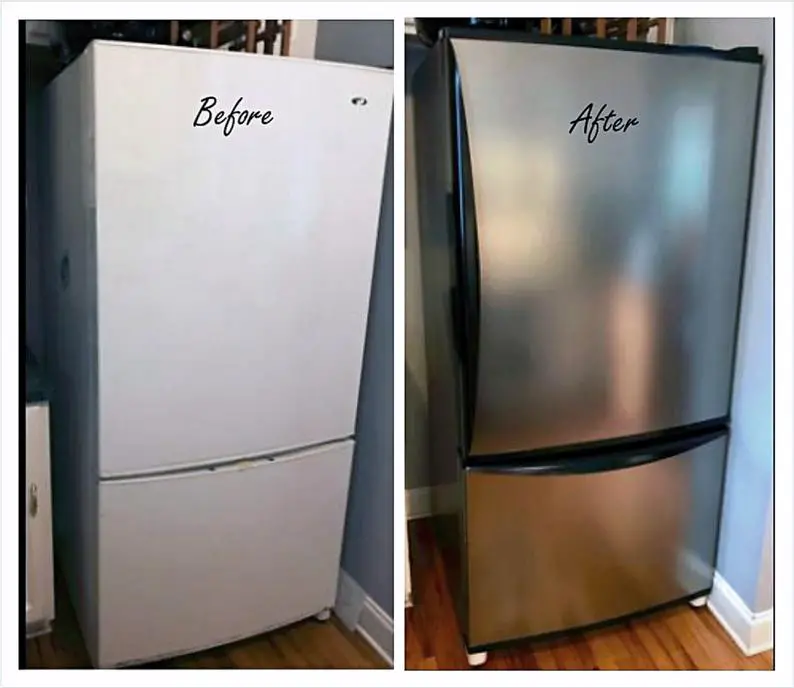
Update your fridge with a metallic contact paper like this one from Etsy or go for a funkier look like Grace at Design Sponge (below).
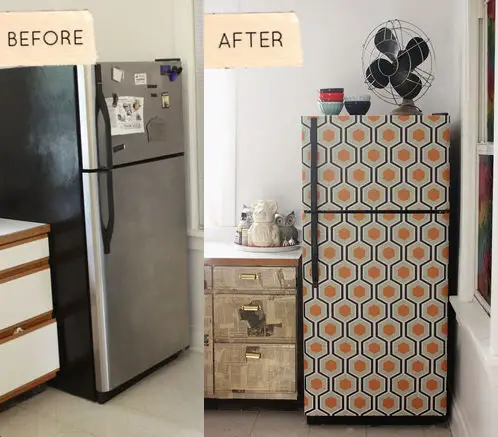
Other good places for adhesive vinyl would be trash cans, washer (if you have one) and even the microwave. Just remember, don’t put it on anything that gets hot!
5. Make memo boards on your kitchen cabinets
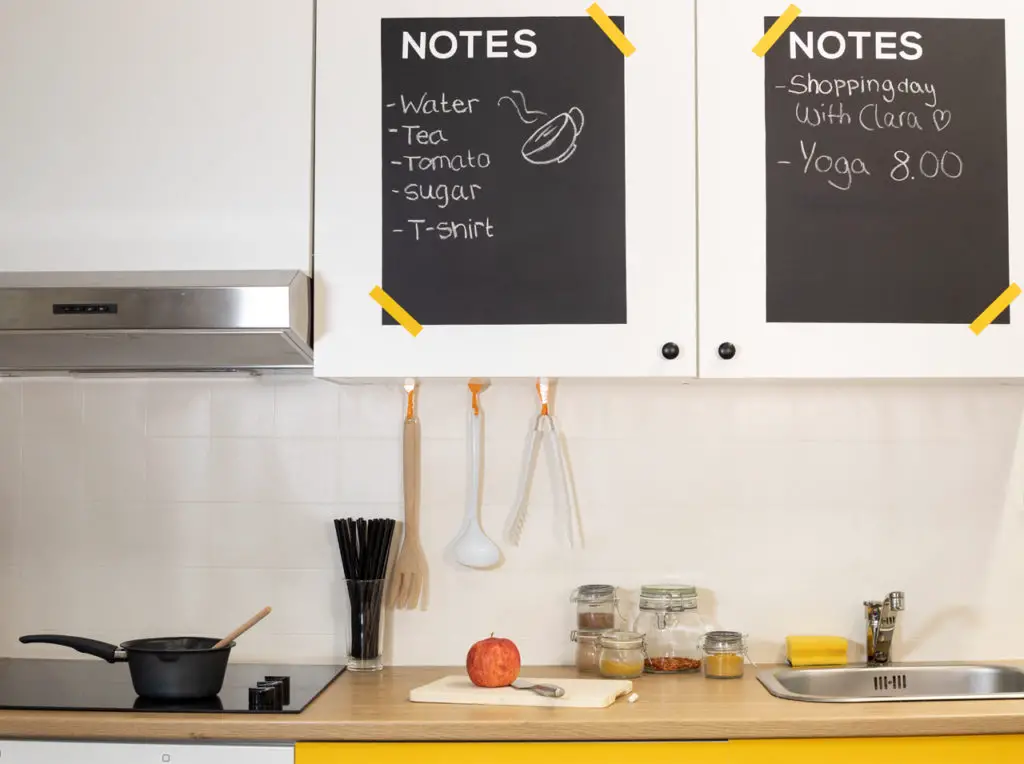
Never forget anything important ever again! Good place to write down the campground information, emergency contacts or just what’s on the menu tonight.
Matilda painted hers but you could also do it with a chalkboard contact paper, which you can find on Amazon.
6. Chalkboard fun for kids
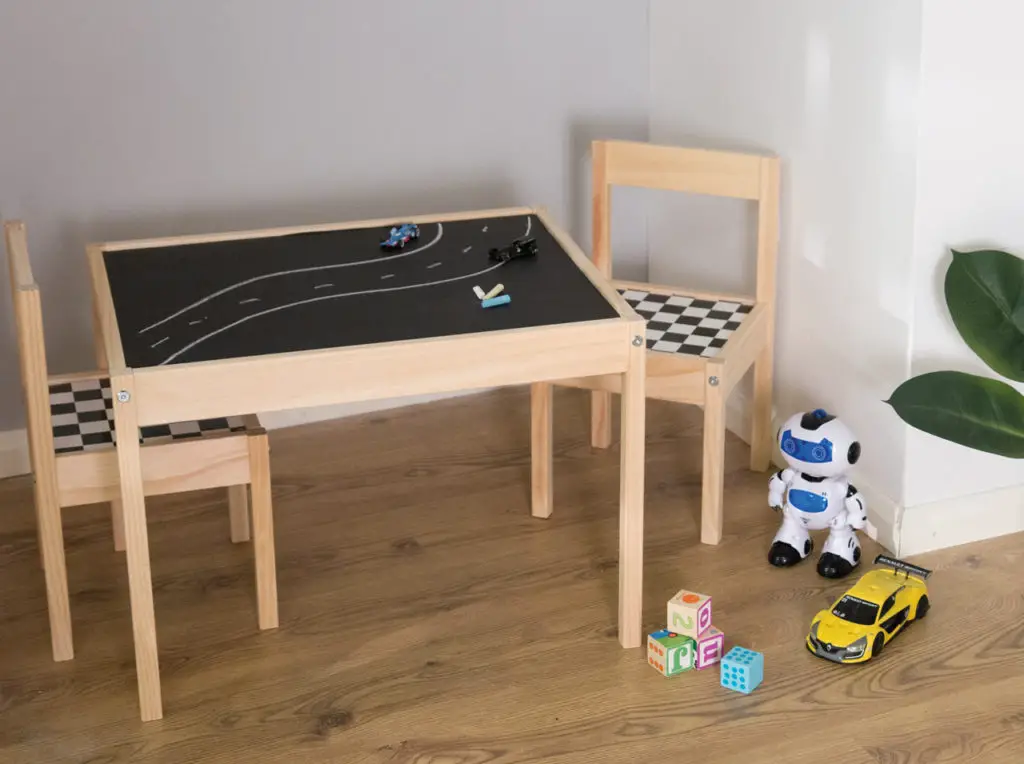
Kids love chalkboards. Add chalkboard adhesive vinyl to their camping table, to a tray, to the RV door, a wall or make a small chalkboard of your own. Endless fun!
7. Use as a shelf liner
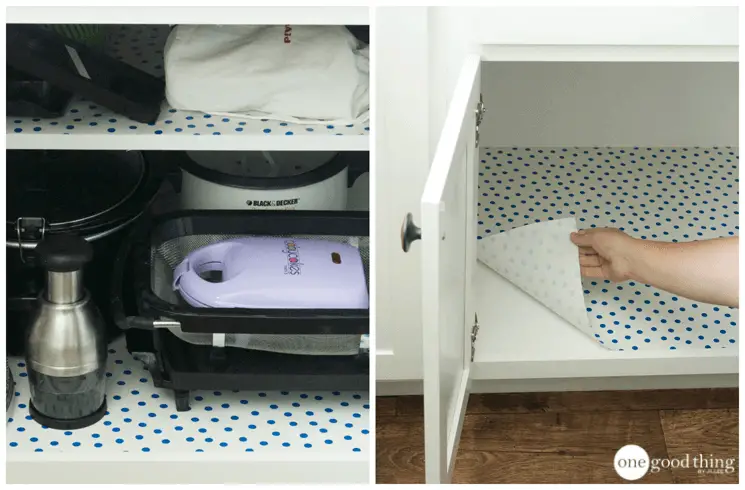
An instant update and refresher to your shelves.
8. Refresh your floors and the bathroom
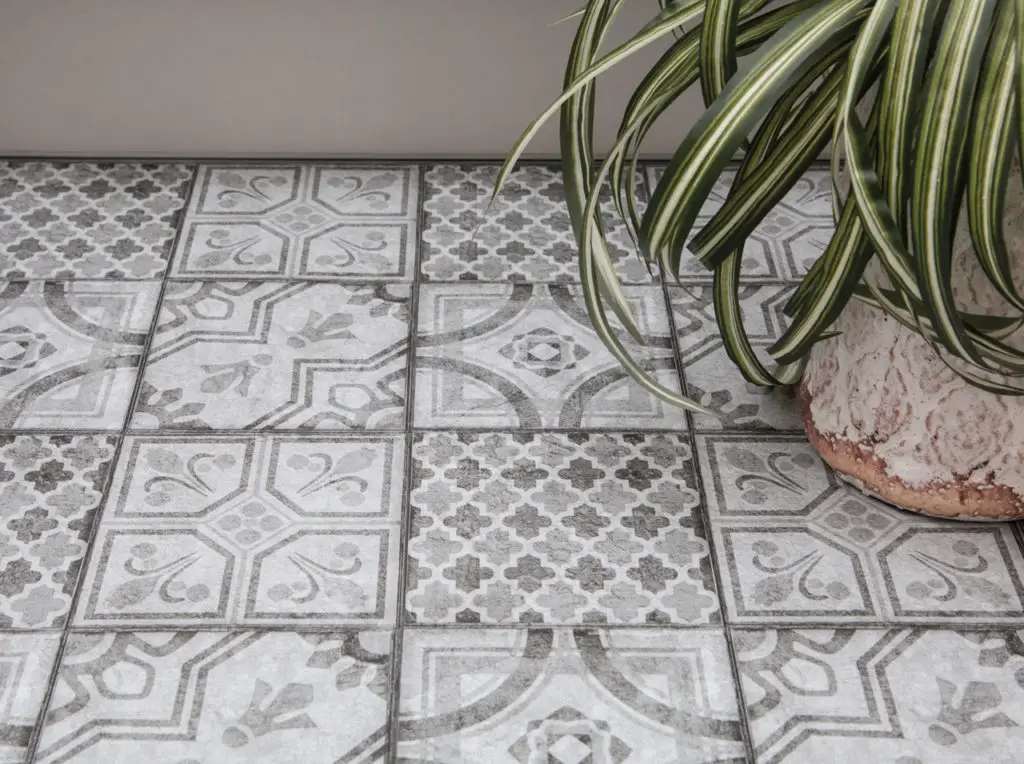
You can use good quality self-adhesive in wet rooms as well, like this D-C-Fix. (Find on Amazon)
If there are any edges that could be exposed to water, seal them with silicone. If you have grout between your tiles, don’t cover them as this vinyl doesn’t breathe through.
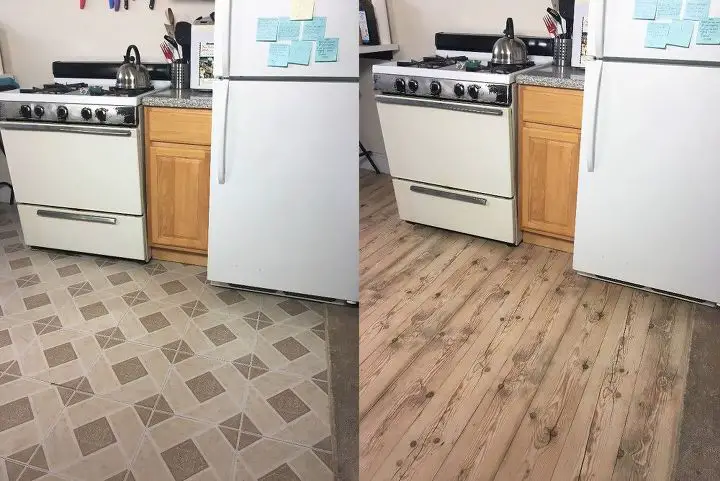
Another great example from Home Talk of instant refresher. If you are worried about it getting worn out, you could seal it with at least 3 layers of clear polyurethane floor varnish.
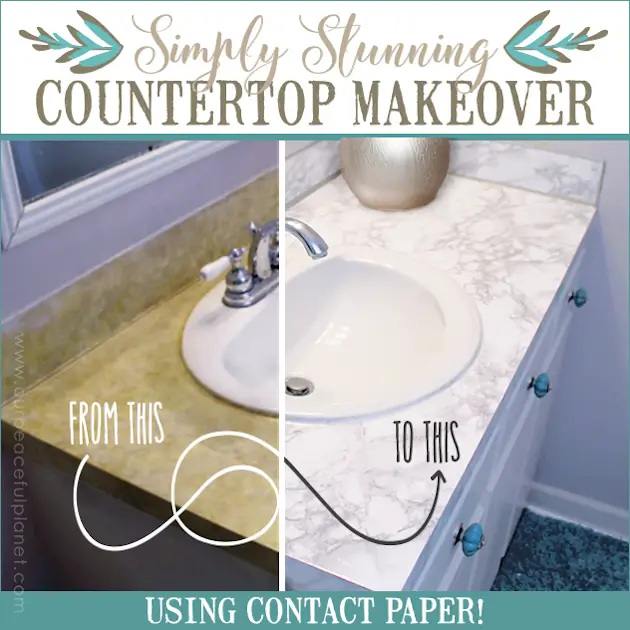
The countertop tip also works in the bathroom. See Nancy’s tutorial here.
9. Create a feature wall or a ceiling
Sure you can cover all the walls but I really think that Liz Kamarul really rocks this ceiling. prvbsthirtyonegirl did a beautiful job with her travel trailer, see her feature wall below.
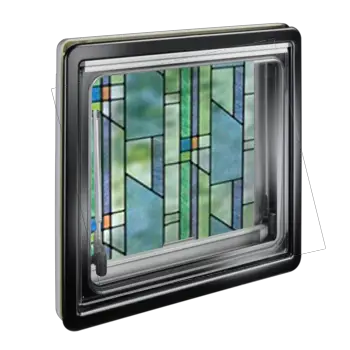
10. Get more privacy with window film
These are great if you have a big toilet or alcove windows.
11. Update your kitchen labels and storage boxes
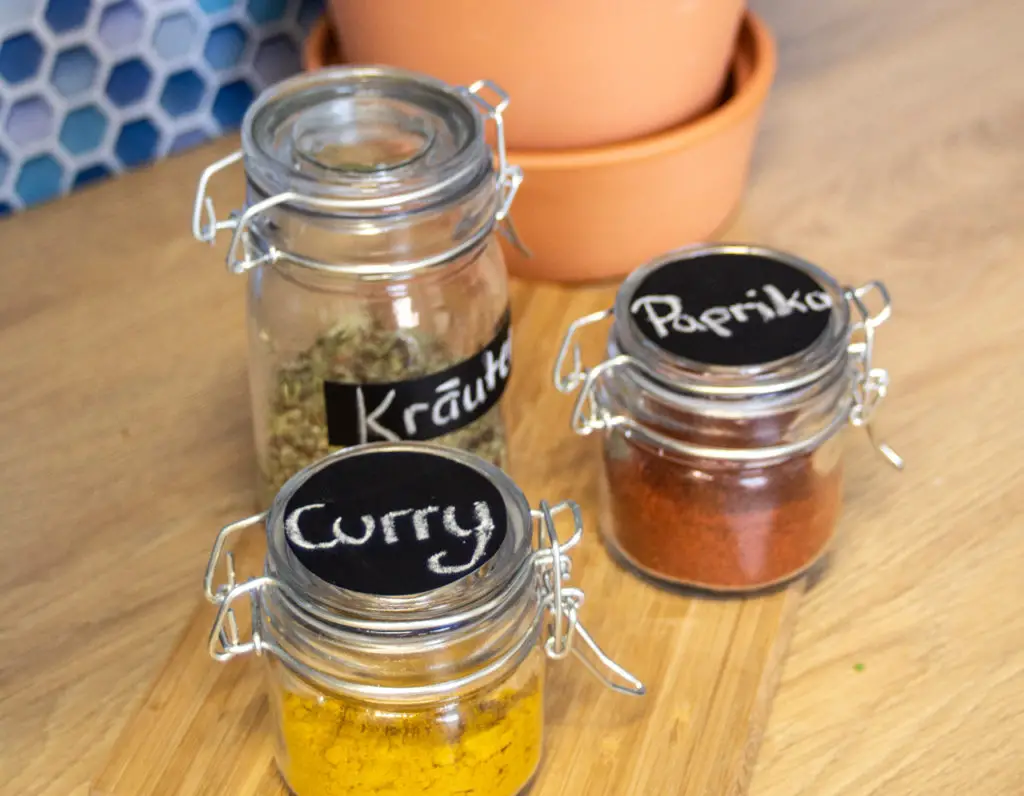
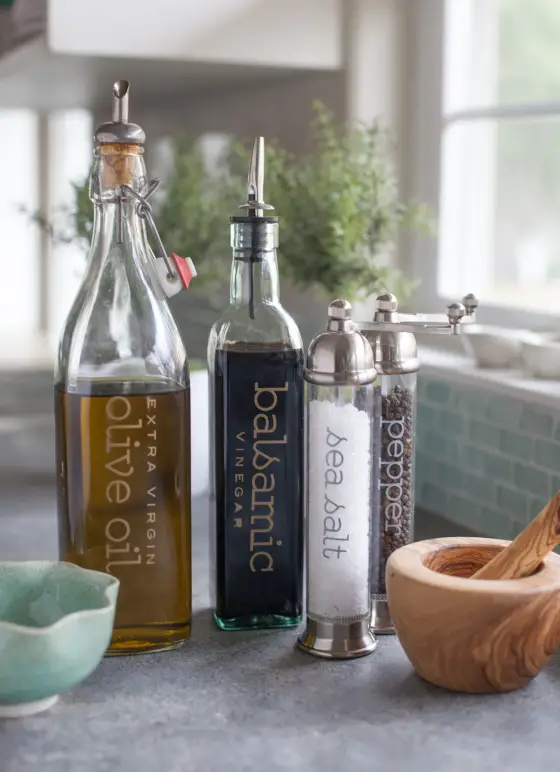
Stylish kitchen label tutorial is from here.
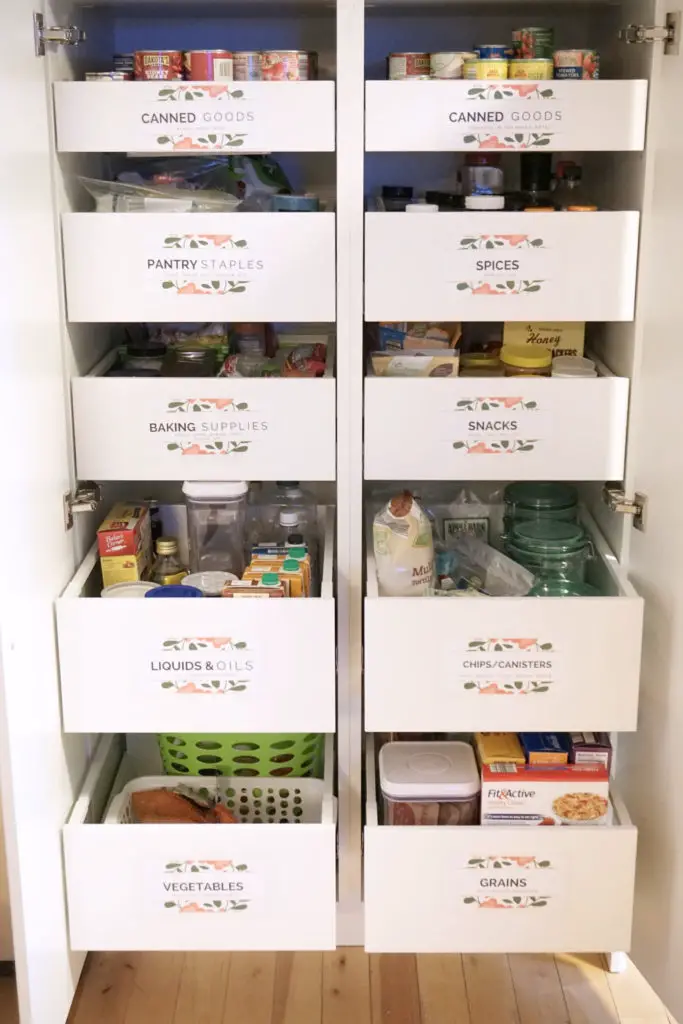
Never lost anything again. Update your labels for organized, stress-free camping.
12. Create cutlery holders from old tin cans
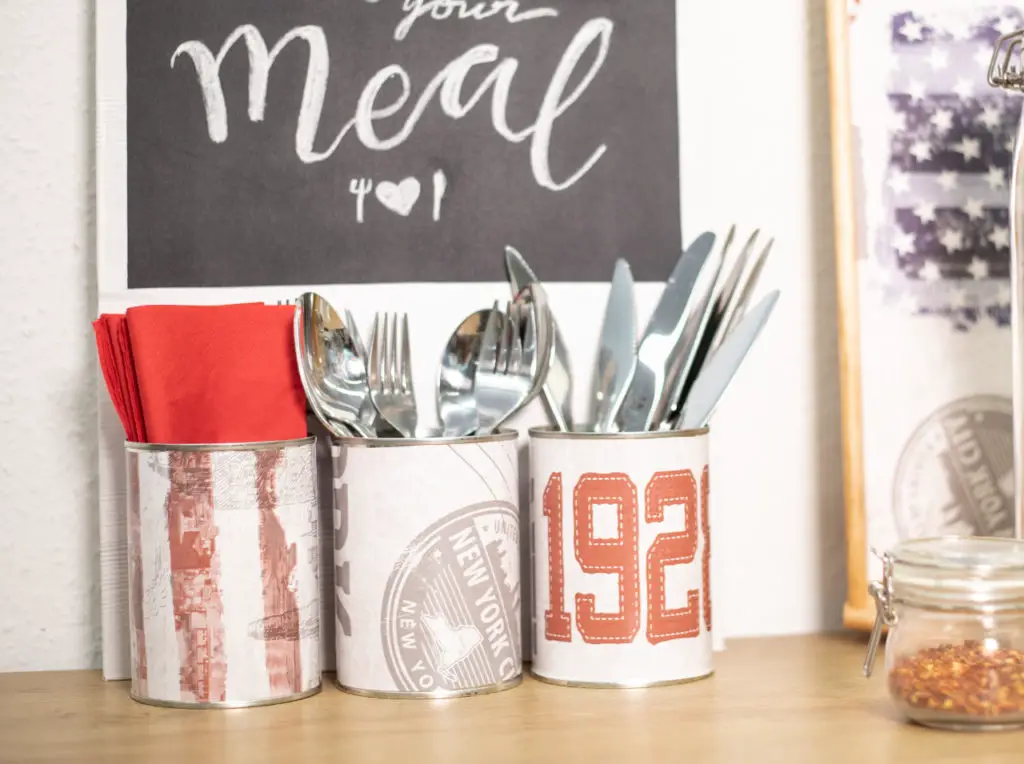
With a D-C-Fix tutorial you can upcycle your old food tins and make handy cutlery holder and stop them sliding all over the place.
We actually did this in our van in New Zealand, I used rest of the marble self-adhesive vinyl I had leftover from other projects.
Fall for Diy used the same idea but did marble planters instead. Cute!

13. Create a travel journal
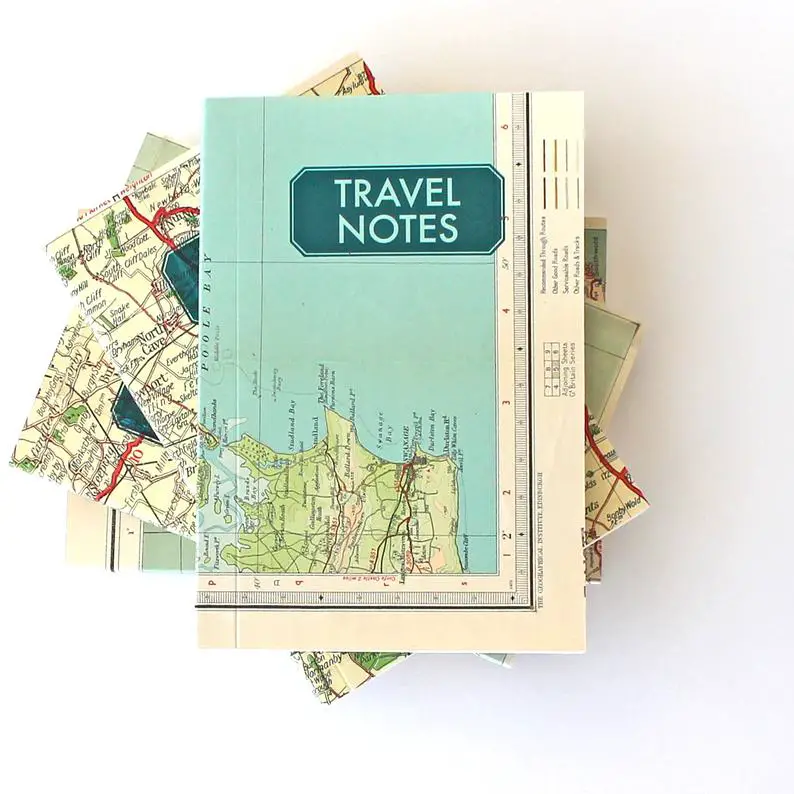
This one is actually from Etsy, but if you have an empty notebook, some old maps and clear sticky back plastic, you could create your own.
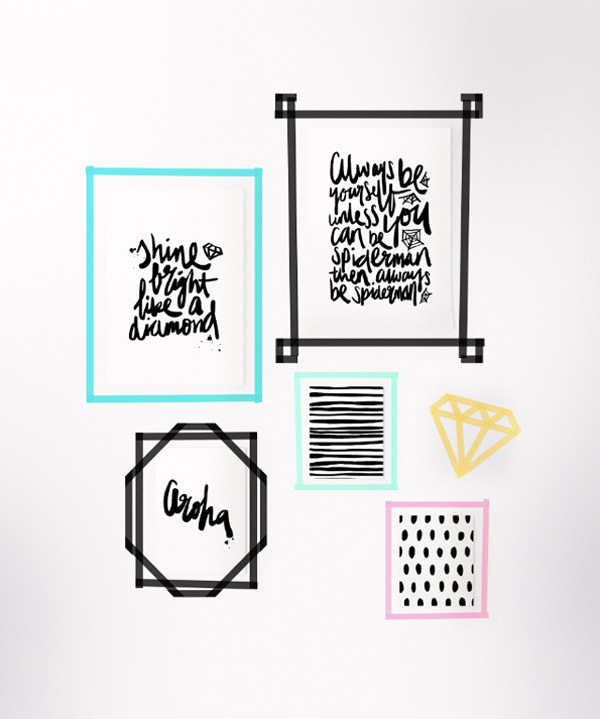
15. Update your photo frames and create a gallery wall
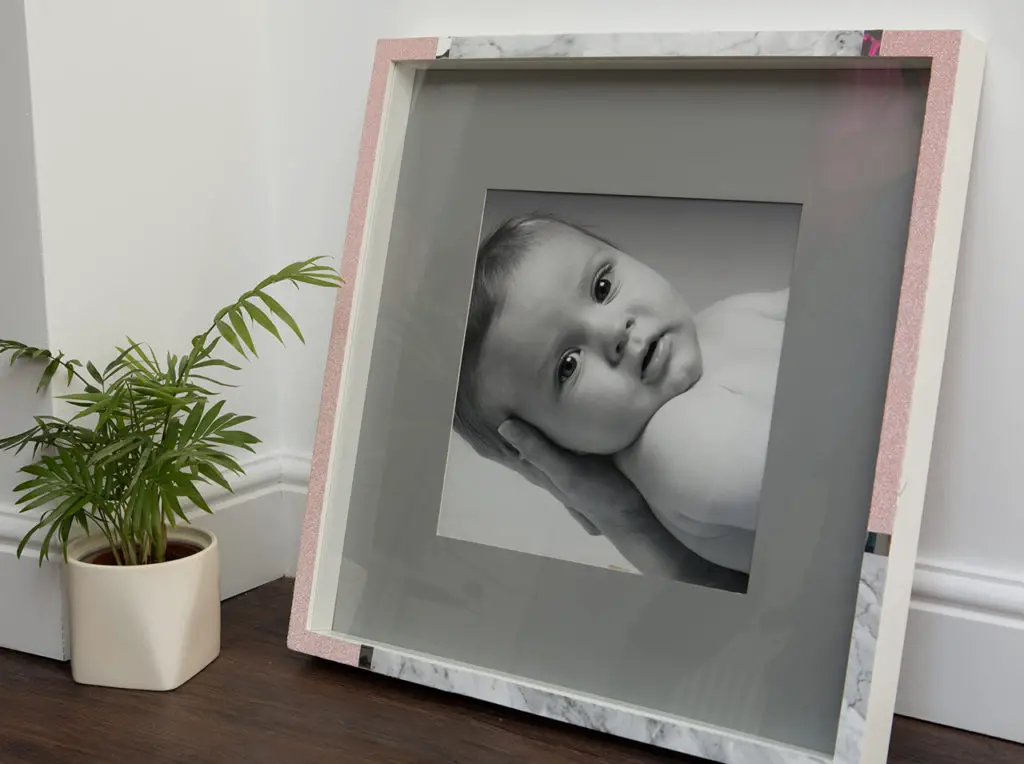
Update your frames and create cool gallery wall out of your best travel photos. Or if you don’t have the space or you can’t hang any heavy frames, make them with washi tape!
16. Create your own decals
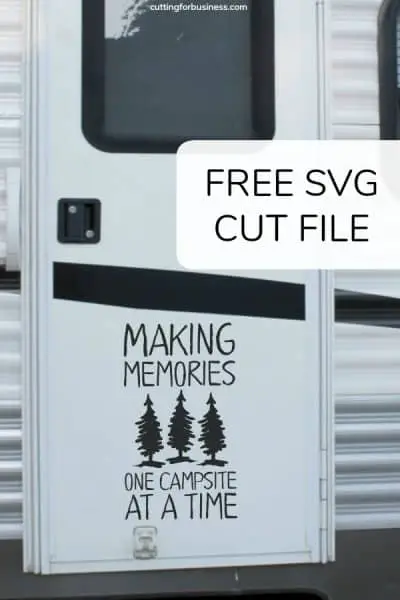
Create your own pretty decals like this one. From their page you can download a free svg file too.
17. Update your camping furniture
They don’t recommend self-adhesive vinyls to be used outdoors as they will fade in the sun eventually, but if you don’t keep your camping gear out all the time, they should last at least 1-3 years.

18. Vertical Wall Garden
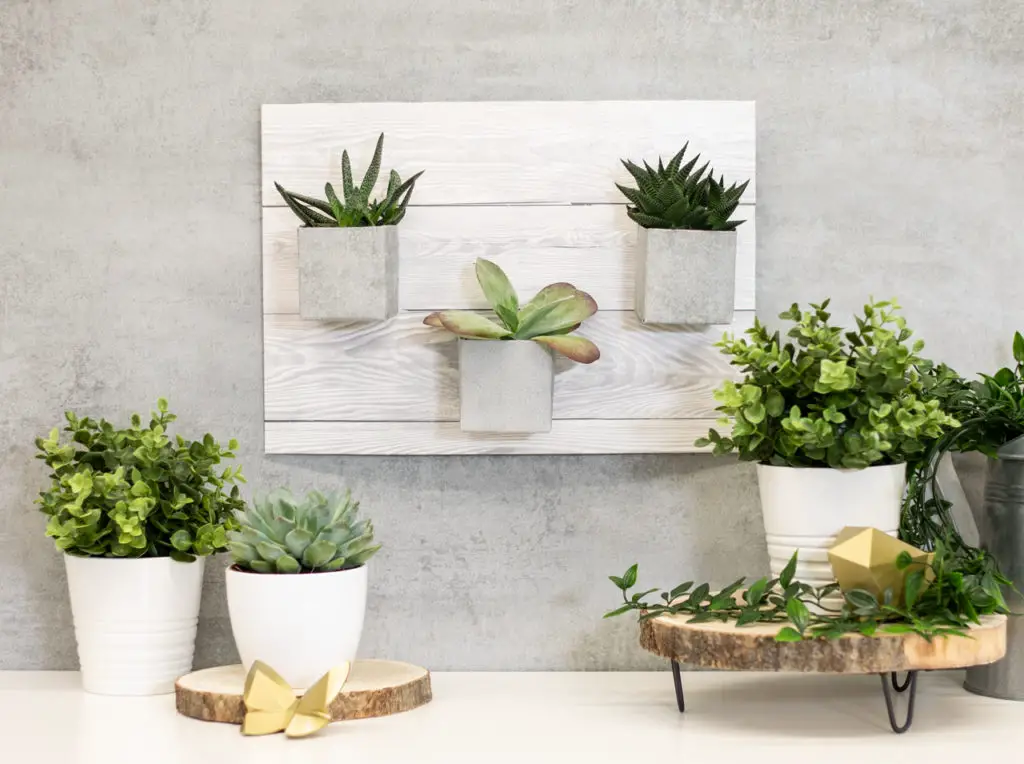
What a lovely idea. This is created using plywood board and some old milk cartons, see the tutorial here. In order to save space I would probably do it taller and put the pots under each other to save even more space.
19. Cover your storage boxes with contact paper
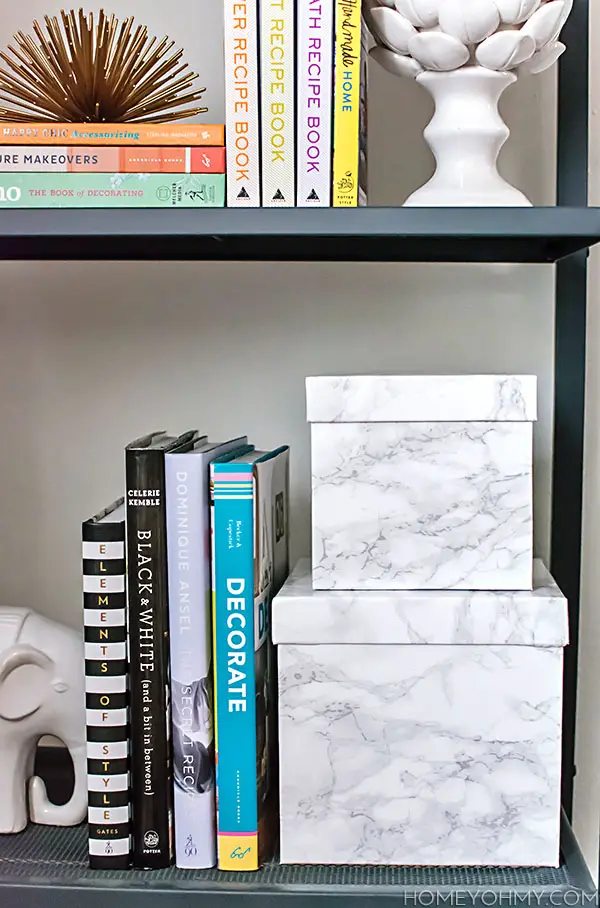
Get your stuff organised with style.
20. Contact paper key rings for your RV
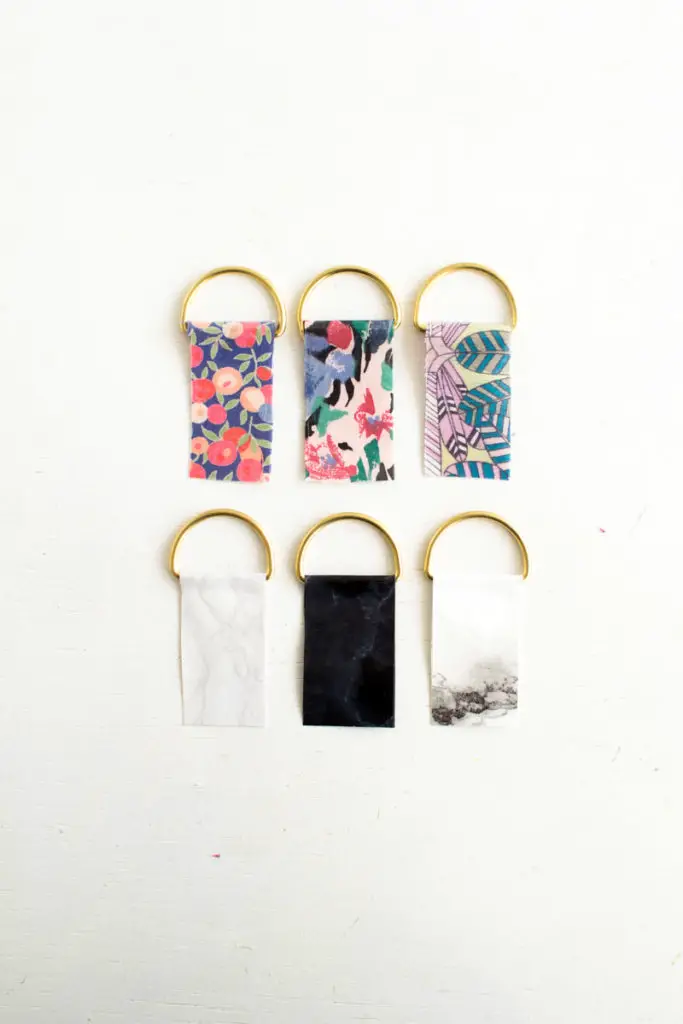
If your RV is anything like ours, you have one key for the cockpit doors, one for living part, one for gas bottle door, one for fresh water etc. With these cute little keyrings you’ll know which one is which.
21. How to use self-adhesive contact paper

- What tools do I need?
Scissors or a cutting knife, ruler or a measuring stick, pen and a plastic smoother. You can buy these ready made in the shops but a bank card or similar will do the job. - What kind of surfaces can I put self-adhesive vinyl contact paper on and what preparations should I make?
Can be applied on any smooth, dry flat surface. Make sure the surface is clean and free of dust and grease. - How to get it on place precisely?
Calculate the area you need to get covered carefully. Most self-adhesive vinyls come with a grid on the other side to help you cut precisely. To the edges factor in at least extra 4mm – you can always trim the excess off! To avoid air bubbles, work a bit by bit and start from the middle and work your way to the edges.
If you want to get the vinyl over the edges, using a hairdryer will help. Blow with the lowest setting. - How do I remove it?
Just start from one corner and carefully peel off.
You might also be interested in
► Our $140 Budget RV Reno – Before & After
► 6 Fantastic Ways to Refresh an RV Fridge
► Easy RV Makeover Ideas on a Budget

3 Comments
Cheryl wood
Hi! Thanks for all the ideas!! I’m going to try using contact paper in our camper. We live in MD and our summers are hot and humid, and our winters are bitter and freezing. Will the contact paper hold up to temperature changes? Maybe putting poly over it is the answer??
Aino
Hi Cheryl, thanks for your comment, I’m glad if you liked the post! 🙂 I think it should be fine, I’m living in Finland at the moment and the winters are pretty freezing here too, but I have had no problems so far! I think if you have good quality contact paper and the surface is clean and dry when you apply it, there shouldn’t be anything to worry about. 🙂
Erna McBrayer
Hey There!
I’m reaching out to you from Baysiderv.com. Our team operates an extremely popular RV Enthusiasts and Lifestyle blog. We’ve had a few of our visitors mention your site recently, so I took a look and I’m happy to say that I was really impressed!
I’m interested in a possible article exchange between both of our sites as I am sure it will strongly benefit our sites in terms traffic.
Here is an example of the kind of search optimized articles that we write for our partners:
https://www.baysiderv.com/best-cell-boosters-for-rv/
Just so we’re clear, we do this for free, in order to build relationships and to help our friends in the RV Living and Lifestyle communities.
If you don’t want to write an article featuring your site on our blog, that’s no problem…we can offer you a link to your site on one of our current articles….and we will still be happy to write an excellent article for your site!
Please let me know your thoughts,
Thanks so much!