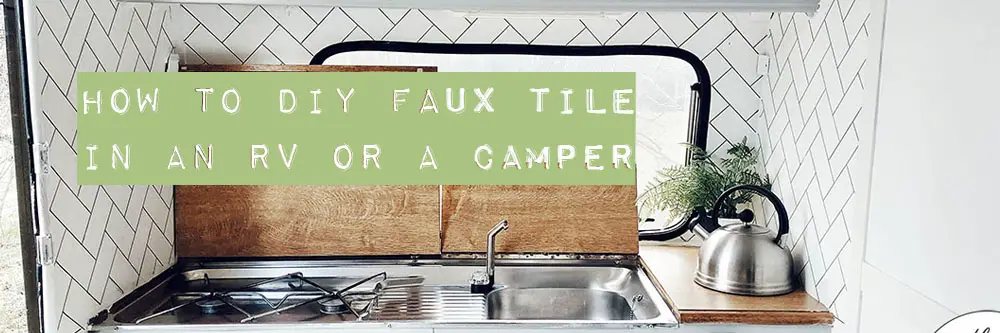
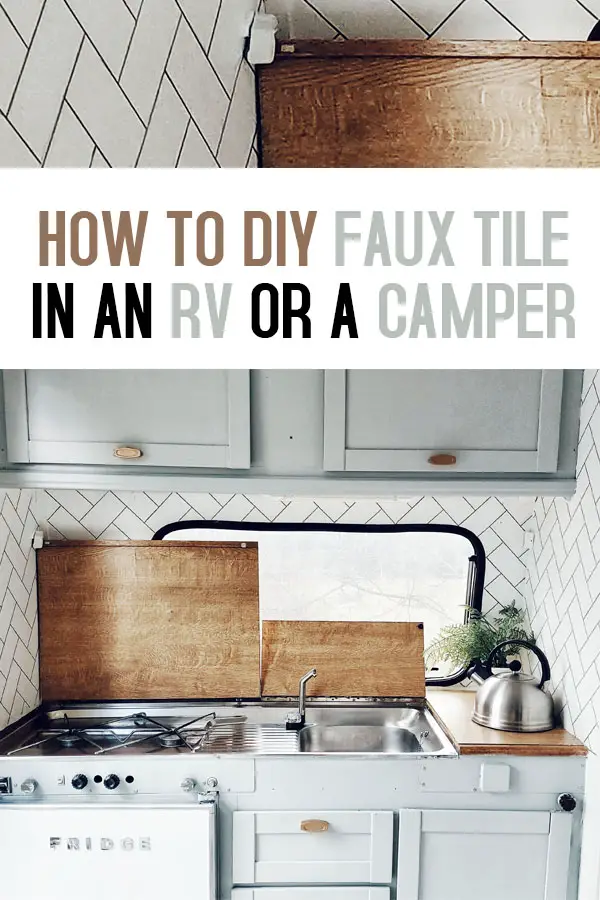
How to DIY Faux Tile in an RV or a Camper – Subway and Herringbone
This post may contain affiliate links to support the upkeep of this blog - at no extra cost to you! Please read my disclaimer for more info.
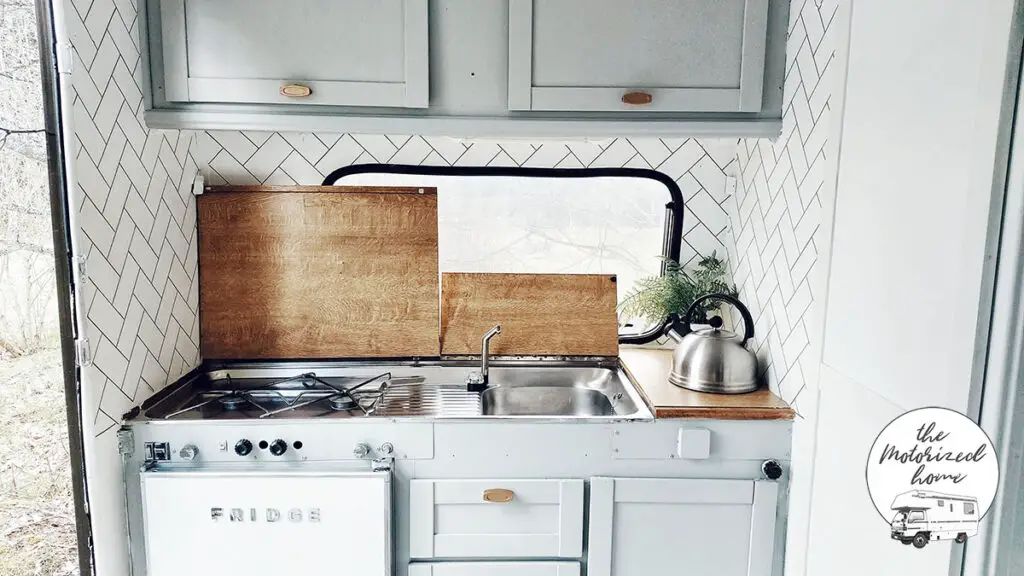
I was browsing Pinterest for hours, when I was planning our RV kitchen backsplash. I had three things in mind: it had to be light weight, cheap and easy to make. First I wanted peel and stick 3D tiles, but I couldn’t find them locally and ordering from abroad was cumbersome because of the pandemic. Also, I have dreamed about Herringbone tiling in a kitchen as long as I can remember! So I decided I will make it myself.
Originally I was going to purchase some golden washi tape and make the “grout” lines that way, but none of the tapes I found were nice enough. Luckily I had bought some metallic markers and after a few test lines I realized this was the way to go.
You might also be interested in
6 Ways to Refresh an Ugly RV Fridge
Easy RV Makeover Ideas on a Budget
What you’ll need
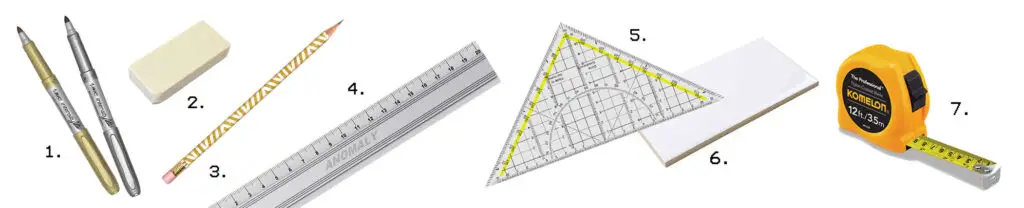
- Markers. I wanted golden ones to match my cupboard handles, but if you want more traditional look, black or grey work perfectly. Just make sure you buy quality pens, and I can’t stress this enough – I started with these ones from Bic, and when I ran out of ink I was hasty and bought a cheap alternative to the bathroom – and oh boy was it awful. So I’d recommend going for a good brand like Bic or Sharpie.
- Eraser to remove mistakes.
- Pencil for drawing the pattern out first.
- Ruler. The longer the better.
If you make Herringbone
5. A set square. To get your angles right.
6. Sample tile, can be cut from cardboard. You can use a ready made tile or cut one from cardboard like I did – it is actually handier as you can bend it in the corners.
If you make Subway
7. Tape measure. You can use just a tape measure and a ruler or a spirit level and a ruler, I’ll explain more below.
(8. Optional but recommended – a spirit level.)
A few tips
- Buy a quality marker. I tried a cheap option too, and it was awful. It didn’t make an even line and the color kept fading.
- Remember that painting over might be difficult. I had a test go first and then painted over it with white paint. I ended up painting 4 (!) re layers as the oil based permanent marker kept pushing through the paint.
- Don’t trust your camper’s walls are straight. I used the ceiling as a starting point and made even measures with a tape measure, but if you have a spirit level, it would be a great help.
- Move in a chronological order. The pen I used was very “paint like” and first I kept spreading it everywhere. Hello golden fingerprints!
- As you are drawing your own pattern, you have the total control over the size of the pattern you are going to create. I originally found some subway tile wallpaper, but the wallpaper pattern was based on a “real size” tile that would have looked way too big in my tiny camper kitchen and bathroom. So I chose size 6cm x 12cm (2,36″x 4,72″)
- Pay a specific attention to the corners. Especially if the corners are not straight like mine aren’t.
How to Make Herringbone Kitchen Backsplash in your RV or Camper
I absolutely love Herringbone style, it makes the whole space look more sophisticated instantly.
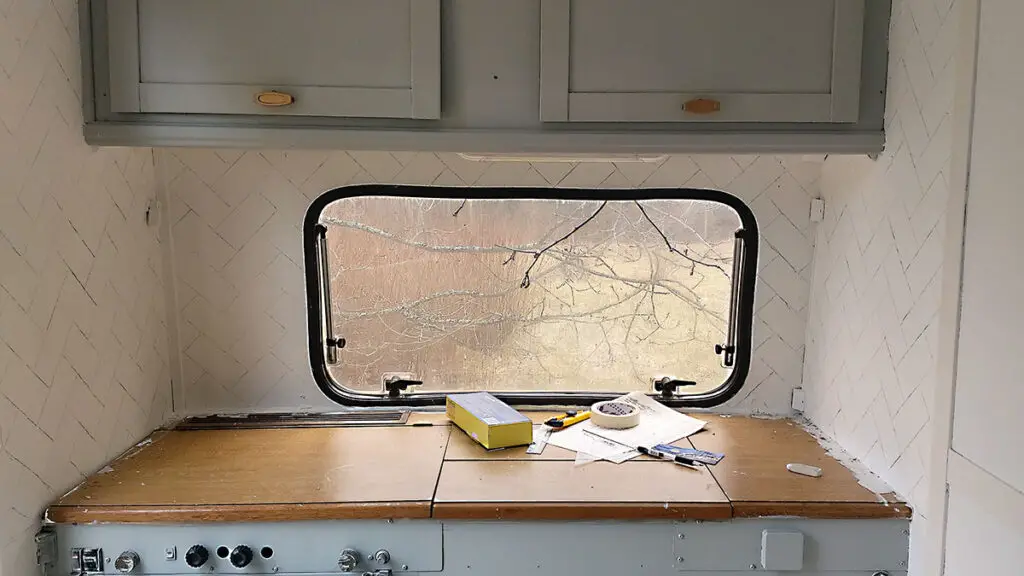
I started here by painting the background completely white. Start the pattern from the ceiling – place your set square the long side upwards, place your tile or template on the angled side and draw the outline with a pencil. After you have drawn your “first tile”, you can carry on with the pattern without the set square, one by one.
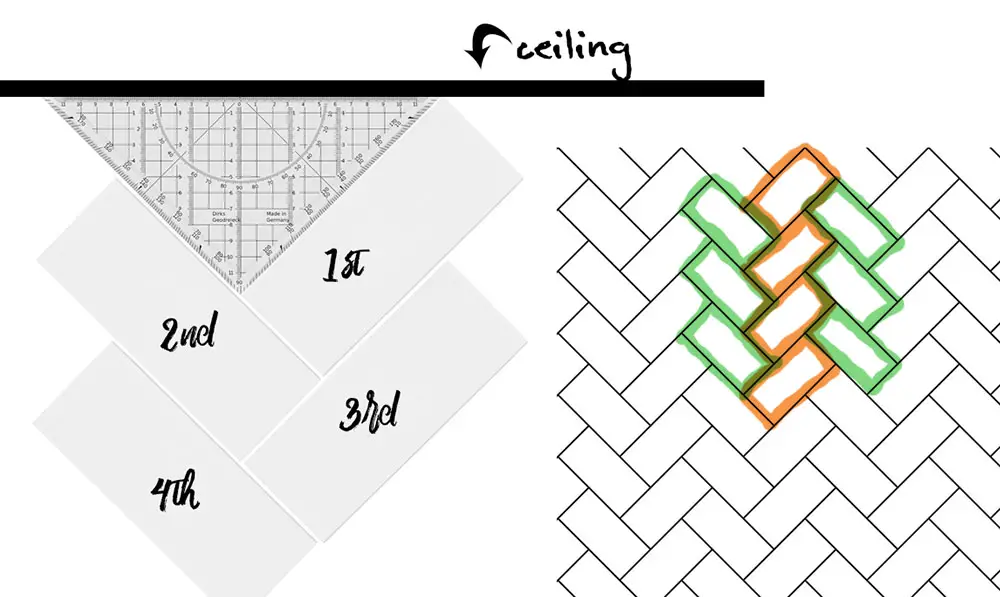
Sometimes the pattern can get a bit confusing, I hope this helps.
Right, here we are, the pattern ready. Now it is time for the marker…
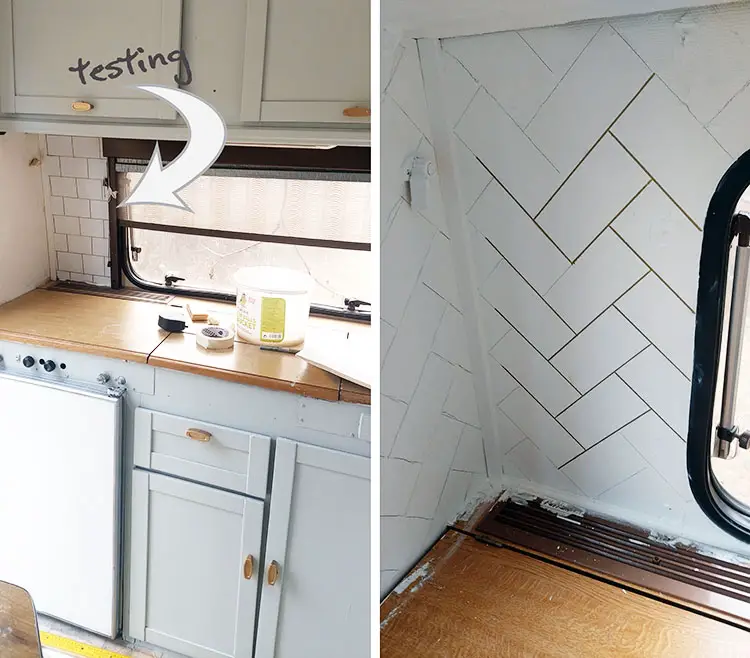
With a ruler, go over each line with a marker. Move in a chronological order, not like I did! You can see my finger prints there. After all the lines were done, I tidied up by erasing any visible pencil marks and painting over my mistakes and some unfortunate fingerprints…
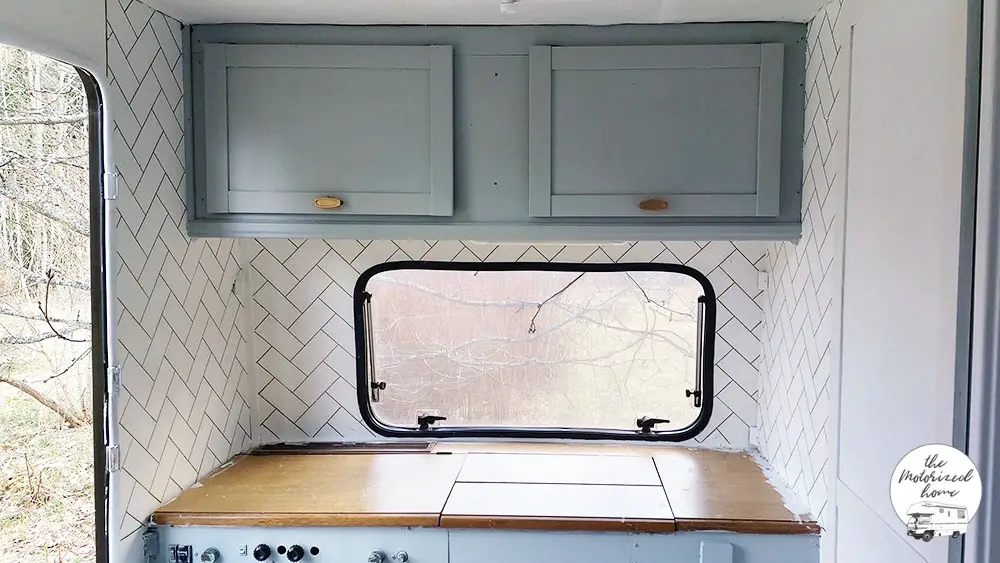
And ta-daah! The backsplash is ready.
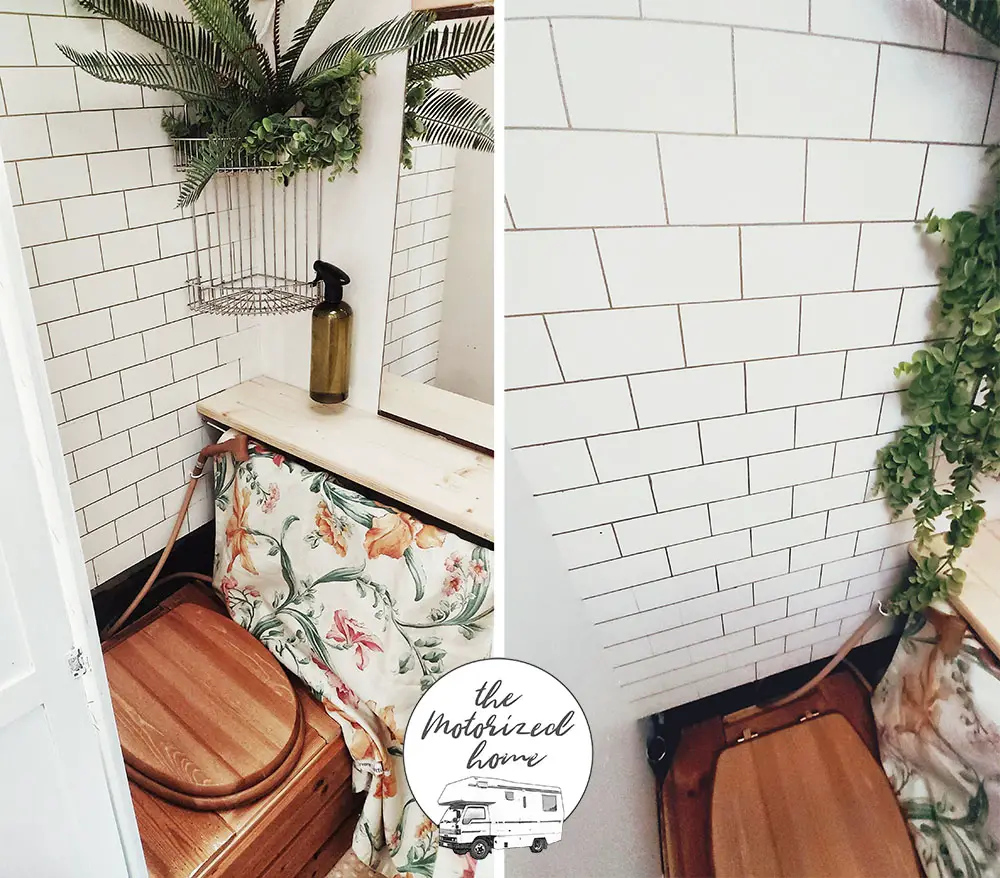
How to make Subway Tile
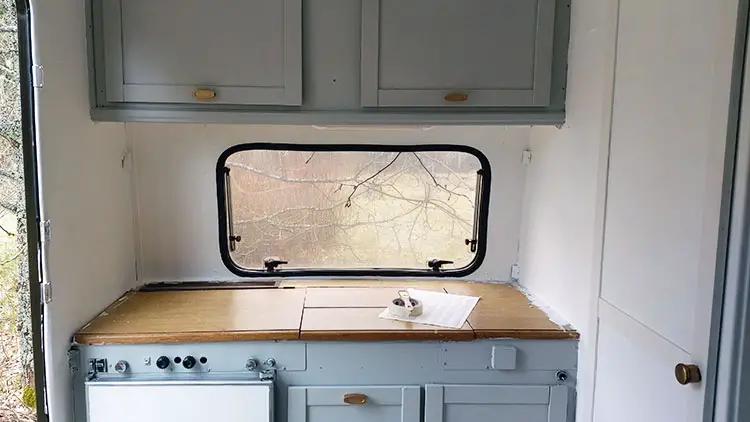
To make a subway pattern, start from the horizontal lines. As my tile size was 6cm x 12cm, I made lines all the way 6cm apart from each other. I personally didn’t have a spirit level, but if you do, it would make the process a bit faster. My ceiling was straight so with a tape measure I took measurements from 4 different points from up to down and then draw the lines together.
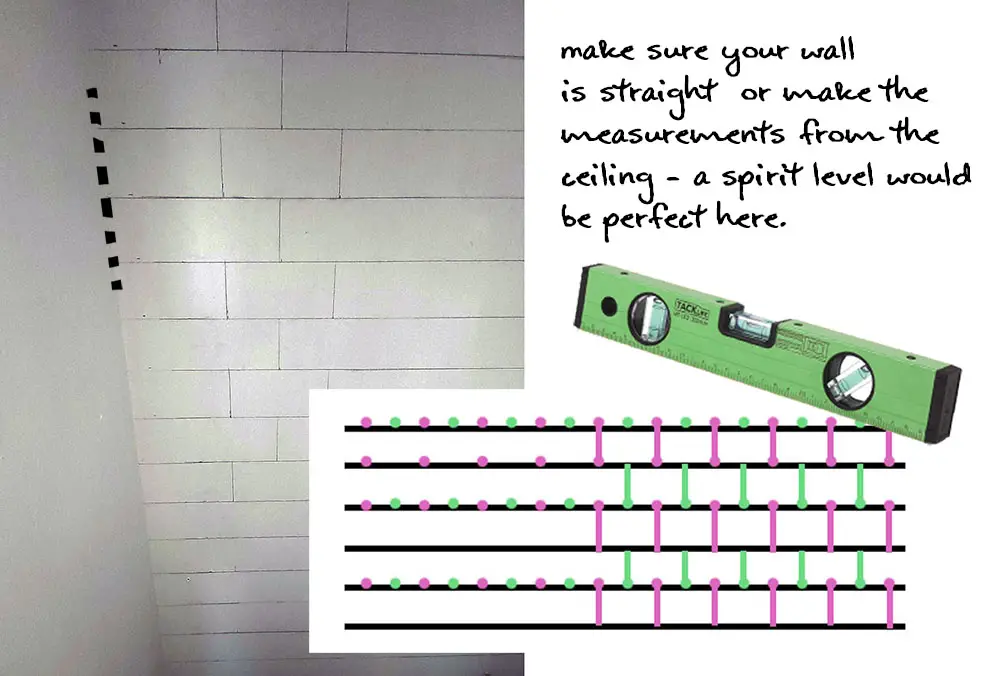
Now you do the vertical lines. You’ll find your own way of doing this, but what I did was I marked every other horizontal line with marks 6cm apart and then with a ruler drew every other “box”. Apologies for my bad explanation, I hope that the picture explains a bit better.
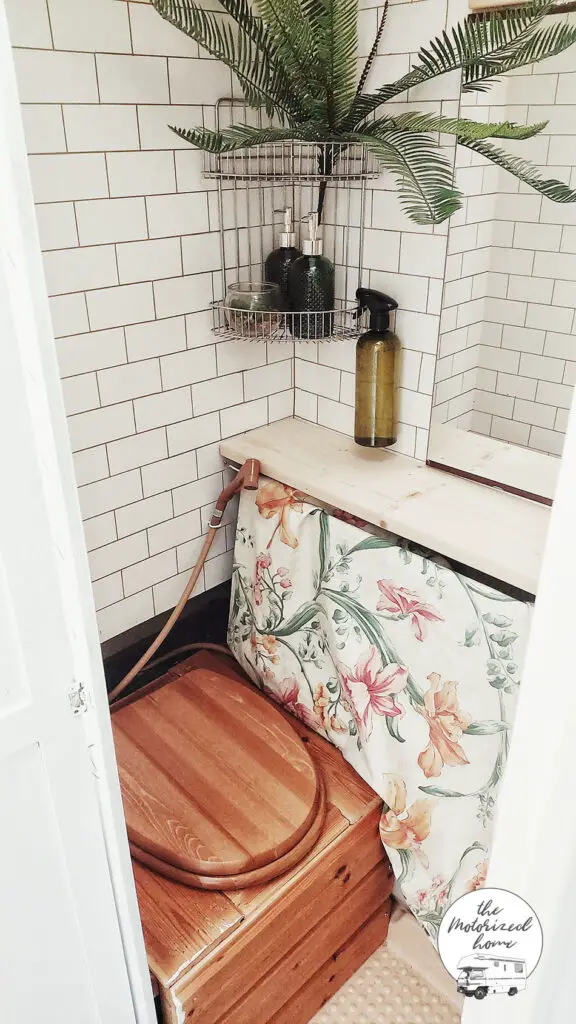
And then the same as with the Herringbone, just draw over the lines with a marker. And here you can see the final result:
That’s it, thanks for reading. Please leave me a comment below if you have any questions!
You might also be interested in
6 Ways to Refresh an Ugly RV Fridge
Easy RV Makeover Ideas on a Budget
Save me for later!
You May Also Like
6 Marvelous RV Fridge Makeover Ideas
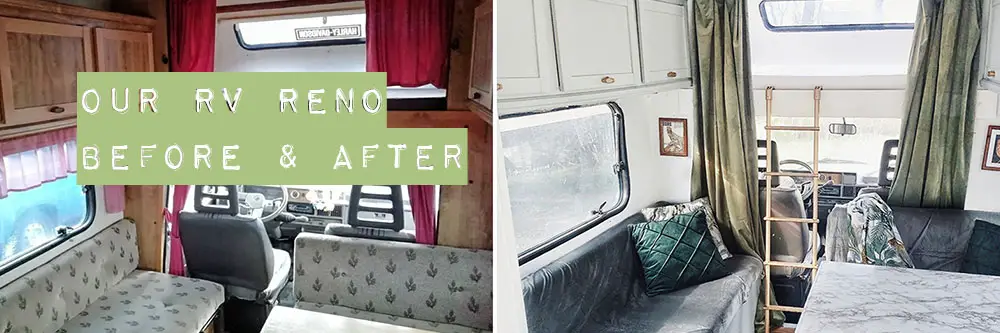
Our $140 Budget RV Reno – Before & After